How to Choose a Bow and Arrow: Beginner’s Guide
You’re ready to start archery, but walking into a shop or browsing online leaves you overwhelmed. Bows range from $50 to $1,500, with recurves, compounds, and longbows all promising different results. The truth is, how to choose a bow and arrow comes down to three things: your purpose, your body measurements, and your commitment level. The wrong setup will frustrate you within weeks. The right one keeps you shooting for years.
This guide covers everything you need to match gear to your goals, from draw length measurement to budget planning. You’ll learn which bow types suit beginners, how to select the correct draw weight without injury, and why arrows matter just as much as the bow itself.
Determine Your Archery Purpose First
Your intended use drives every equipment decision. A bow perfect for Olympic competition fails miserably in a hunting blind, and vice versa.
Target Shooting vs. Bowhunting
Target shooting (Olympic and 3D) demands precision and consistency. You’ll want a modern takedown recurve with an ILF riser, paired with a sight, stabilizer, and clicker. This setup is the standard in World Archery competitions and beginner programs worldwide.
Bowhunting requires power and forgiveness under pressure. Compound bows dominate this space thanks to their mechanical let-off, which reduces holding weight at full draw. Short, quiet takedown recurves work for hunters who prioritize stealth over speed.
Traditional and Historical Archery
If you’re drawn to mindfulness and form, consider a bare longbow or minimal recurve. No sights, no stabilizers. Just you, the bow, and the shot. This style gained popularity through educators like Clay Hayes and Kyudo practitioners.
Historical reenactment or meditation calls for self bows, horsebows, or Japanese yumi. These prioritize authenticity and ritual over performance. Expect months of practice before achieving consistency.
Set a Realistic Budget
Spending more does not mean shooting better. Smart budgeting beats expensive gear every time.
Know the True Cost
A “complete kit” rarely includes quality accessories. Budget an extra $100 to $200 for essential items:
- Arrows ($50 for 6 carbon shafts)
- Finger tab ($20)
- Arm guard ($20)
- Quiver ($30 to $50)
- Target ($50 or more)
Low-end kits under $150 often include weak strings, cheap arrows, and misaligned limbs. Replacing these components costs more than starting with mid-range gear.
Recommended Price Ranges
| Bow Type | Price Range | Why |
|---|---|---|
| Recurve (Takedown) | $200–$300 | Durable ILF riser, replaceable limbs |
| Compound | $700–$1,000 | Proper let-off, adjustable draw, reliable cams |
| Longbow | $400–$600 | Quality wood laminates, safe brace height |
A $300 recurve with good form outperforms a $1,000 pro model with poor technique.
Choose the Right Bow Type

Each bow type serves different skills, goals, and learning curves.
Start with a Takedown Recurve
This is the best choice for beginners. Here’s why:
- Develops strong fundamentals without let-off hiding form flaws
- Skills transfer to compound or traditional shooting later
- Adjustable draw weight through interchangeable limbs
- ILF standard means you can upgrade limbs without buying a new riser
Avoid one-piece fiberglass bows. They’re cheap but not adjustable and break easily.
Compound Bows for Hunting
Compounds offer significant advantages:
- Let-off (65–85%) reduces holding weight at full draw
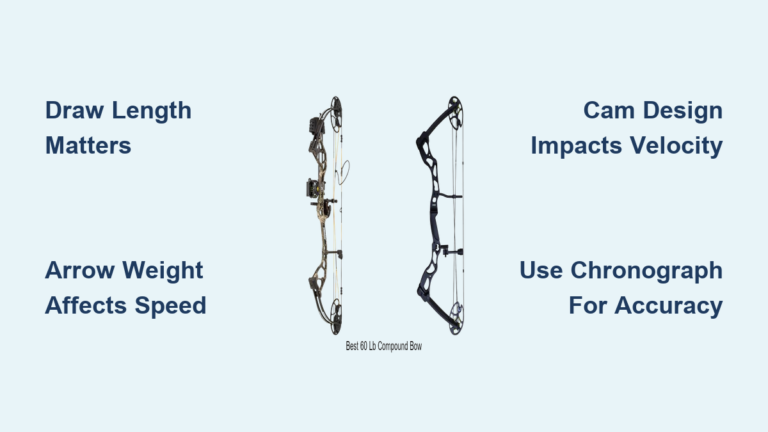
- Faster arrows (300+ fps) create flatter trajectories
- Forgiving of minor form errors
However, compounds require professional tuning. Misalignment risks string derailment, which is dangerous. Never buy a compound online without professional shop setup.
Skip Longbows and Traditional Bows Initially
These are the least forgiving options. Accuracy demands perfect form from day one. Save them for after you’ve learned fundamentals on a recurve.
Avoid Crossbows and DIY Bows for Learning
Crossbows function like firearms, are banned at most clubs, and don’t teach archery fundamentals. PVC DIY bows are unsafe and inaccurate. Use them only for casual fun, not skill building.
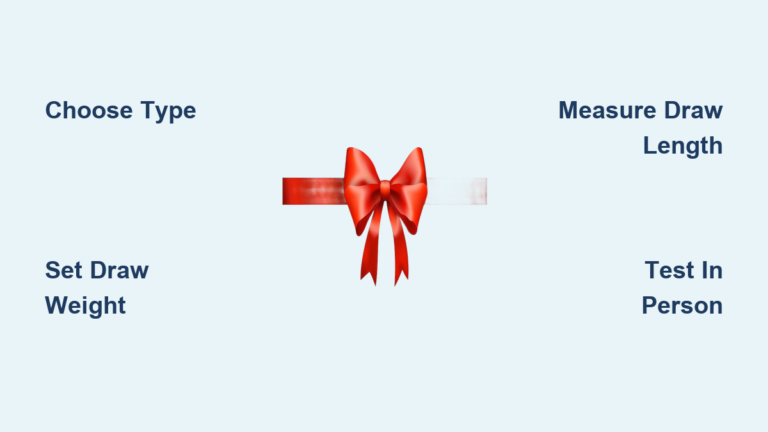
Measure Your Draw Length Accurately
Wrong draw length causes poor form, injury, and inaccuracy. This measurement is essential.
Use the Wingspan Method
- Stand straight with arms extended like a “T”
- Measure fingertip to fingertip in inches
- Divide by 2.5
Example: 70-inch wingspan equals a 28-inch draw length.
Confirm with the Wall Test
- Stand sideways to a wall
- Extend bow arm and press knuckles flat against the wall
- Pull back as if drawing a bow
- Measure from the wall to the corner of your mouth
This gives your true shooting draw length. Always test at a pro shop with a draw board. Even half an inch off causes string slap or dry fires.
Select the Right Draw Weight
Starting too heavy ruins form. Start light. No exceptions.
Beginner Draw Weight Guidelines
- Adults: Start at 20 to 25 pounds, maximum 30 pounds
- Youth: Match to age and strength, typically 15 to 20 pounds
- Rule of thumb: Approximately 25% of body weight, but prioritize comfort
It doesn’t matter how strong you are. You’ll use muscles you’ve never used before.
Increase Gradually
Add 5 pounds every 3 to 4 weeks only when you can hold full draw for 30 seconds and make 20+ consistent shots without fatigue.
Draw Weight by Purpose
| Use Case | Minimum Weight | Notes |
|---|---|---|
| Target Practice | 20–35 lb | Focus on form, not power |
| Deer Hunting | 40 lb | Check local laws |
| Elk/Bear | 50–60+ lb | More kinetic energy needed |
A 60-pound bow cranked to 62 pounds performs better than a 70-pound bow let down to 62 pounds.
Evaluate Key Bow Specifications

Technical features affect feel, speed, and forgiveness.
Check Brace Height
- Recurves: 6 to 7 inches ideal
- Longbows: 7 to 8 inches ideal
Shorter brace height means faster arrows but less forgiveness. Longer brace height means smoother draw and quieter shots, better for beginners.
Choose Bow Length Wisely
- 66 to 70 inches: Best for beginners, more stable and smoother draw
- 62 to 64 inches: Compact, good for hunting in brush
- Draw length over 30 inches: Use 68 inches or longer for clean arrow clearance
Test the Grip
The grip should sit between your thumb pad and palm, not gripped tightly. Look for neutral feel with no wrist torque. Try 3 to 5 bows. The one that feels “invisible” is likely the best.
Test Bows In Person
Specs don’t tell the whole story. Feel matters enormously.
How to Test Properly
- Visit a pro shop or club with rental equipment
- Have staff set each bow to your exact draw length and weight
- Shoot at least 6 arrows per bow
- Compare smoothness, vibration, and consistency
What to Feel For
Draw cycle: Compounds should roll smoothly into let-off. Recurves should increase steadily without “stacking” (getting harder at the end).
Valley and back wall: The valley is your holding zone after let-off. Shallow valleys keep muscles engaged (better for competition). Deep valleys offer easier holds (better for hunting). The back wall must be solid and repeatable, not mushy.
Hand shock: A “dead” bow feels quiet and still after release. Excessive vibration causes flinching and poor follow-through. Look for bows with limb dampeners or riser mass to reduce shock.
Match Arrows to Your Bow
Wrong arrows are dangerous. They can explode on release or veer off unpredictably.
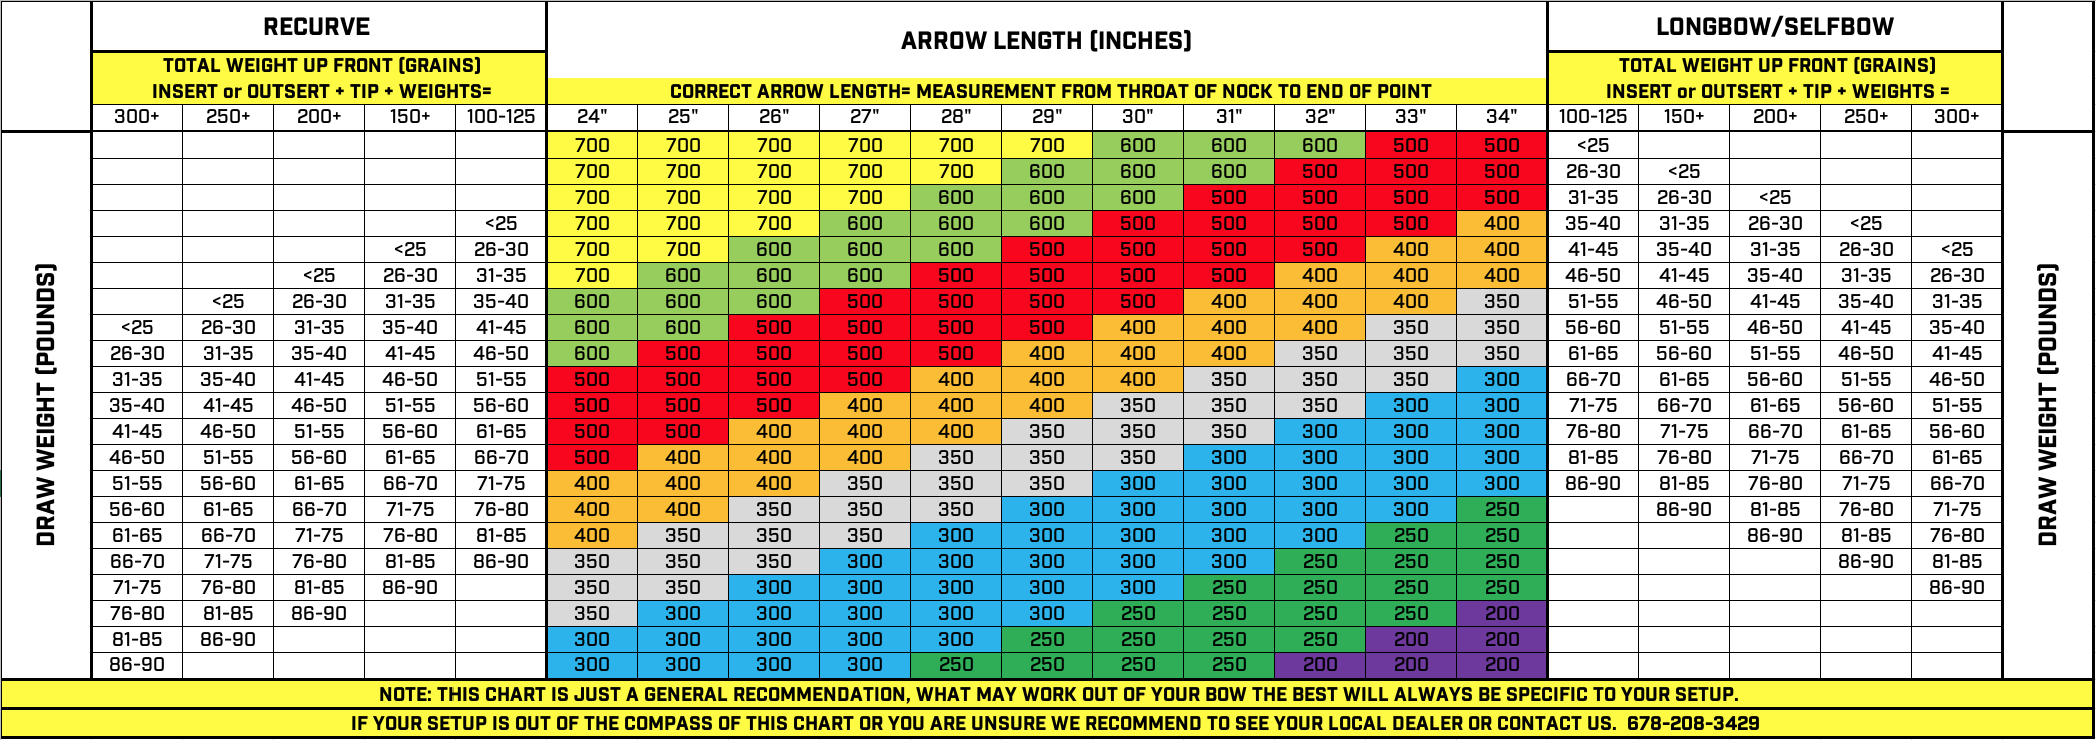
Arrow Spine Must Match
Arrow spine (stiffness) must match your draw weight and length. Too stiff causes arrows to fly left. Too weak causes arrows to fly right. Use manufacturer charts or ask a professional.
Arrow Length Guidelines
Arrows should be 1 to 2 inches longer than your draw length. They must clear the rest and shelf safely. Always have arrows cut by a professional. Improper cuts cause dry fires.
Arrow Material Options
| Type | Best For | Pros | Cons |
|---|---|---|---|
| Carbon | Hunting, speed | Lightweight, fast | Brittle, expensive |
| Aluminum | Target, beginners | Durable, consistent | Slower, dents |
| Hybrid | All-around | Strong, accurate | Heavier |
Start with pre-fletched, pre-nocked carbon or aluminum arrows in a 6 to 12 pack. Keep 6 extras for replacements.
Get Essential Accessories
Safety and consistency depend on the right gear.
Must-Have Basics
- Arm guard: Prevents string slap on your forearm
- Finger tab: Protects fingers and ensures clean release
- Quiver: Keeps arrows safe and organized
Accuracy Add-Ons
Sights: Multi-pin sights work for known distances (hunting). Single-pin sliders suit variable ranges (3D shooting).
Peep sight: Installed in the string, aligns with your dominant eye at full draw.
Arrow rest: Whisker Biscuits are beginner-friendly. Drop-aways suit hunting. Blade rests offer precision but require tuning.
Stabilizers: Front rods (20 to 30 inches) provide more stability. Side rods help counterbalance and dampen vibration.
Kisser button: Touches the corner of your mouth at full draw, ensuring consistent anchor point. Use rubber for temperature stability.
Learn the Right Way
Equipment is only part of the equation. Technique determines success.
Command vs. Surprise Release
Command shooting means you decide when to release. This can cause “target panic.” Surprise shooting releases when tension hits a threshold. Most elite archers use surprise release to stay calm under pressure.
Best Learning Path
- Take lessons from a USA Archery certified coach
- Join a club for mentorship and gear access
- Rent first to test styles before buying
- Start light (20 to 25 pounds) and focus on form
- Practice consistently. Three sessions per week beats one marathon session
Getting a coach prevents you from learning by trial and error, which will be a lot of error.
Final Checklist Before Buying
Before purchasing, verify:
- Bow matches your draw length (verified in person)
- Draw weight is comfortable with no shaking or fatigue
- You’ve tested multiple models
- Grip feels neutral with no torque
- Draw cycle is smooth, back wall is solid
- Hand shock is minimal
- Bow type fits your archery style
- Arrows are correctly spined and sized
- Accessories are budgeted or included
- You can upgrade limbs later (ILF recurve)
Key Takeaways for Choosing Your First Bow
Takedown recurve bows win for beginners. They teach real archery fundamentals, grow with you through limb swaps, and use the same design as Olympic training. Skills transfer easily to compound or traditional shooting later.
Start with 20 to 25 pounds. Comfort matters more than power. You’ll build strength naturally over time.
Test before buying. Visit a pro shop, shoot multiple bows, and trust how they feel in your hand. The best bow is the one that keeps you shooting.
Now that you understand how to choose a bow and arrow, visit a local archery shop, get measured, and start shooting. Your perfect setup awaits.
Frequently Asked Questions About Choosing a Bow and Arrow
What is the best bow for a beginner?
A takedown recurve bow is the best choice for beginners. These bows develop strong fundamentals, are adjustable as you get stronger, and use the same design found in Olympic training. Skills transfer easily to other bow types later.
How do I know what draw weight to start with?
Start with 20 to 25 pounds if you’re an adult. This is light enough to develop proper form without fatigue or injury. It doesn’t matter how strong you are. Archery uses muscles differently than other activities.
What is draw length and how do I measure it?
Draw length is the distance from the string at full draw to the grip. Measure your wingspan in inches, divide by 2.5, and you get an estimate. The wall test (measure from wall to corner of mouth at full draw) gives a more accurate reading.
How much should I budget for a complete bow setup?
Budget $300 to $500 total for a quality recurve setup. This includes the bow ($200 to $300), arrows ($50), and essential accessories like a finger tab, arm guard, and quiver. A “complete kit” often includes low-quality accessories worth replacing.
Can I teach myself archery?
You can learn basic technique through videos, but getting a coach prevents months of learned bad habits. Proper form is difficult to self-diagnose. A certified instructor catches errors before they become ingrained.
How often should I increase my draw weight?
Increase draw weight by 5 pounds every 3 to 4 weeks, but only when you can hold full draw for 30 seconds and make 20+ consistent shots without fatigue. Rushing this process ruins form and causes injury.