
How to Restring a Compound Bow: Step-by-Step Guide
If your compound bow isn’t shooting as smoothly or accurately as it used to, the problem might not be your form. Over time, bowstrings stretch, fray, and lose performance, especially after 2,000 to 2,500 shots. Learning how to restring a compound bow is a vital skill for any serious archer, whether you’re a hunter, target shooter, or outdoor enthusiast. But unlike traditional bows, modern compound bows store immense limb tension, often exceeding 70 pounds, making restringing a job that demands precision, proper tools, and strict safety protocols.
This guide walks you through every step, from assessing wear and choosing the right string to safe removal, installation, tuning, and maintenance. Whether you’re a DIY enthusiast or want to understand what a pro does at the shop, you’ll learn exactly how to restring a compound bow the right way.
When to Replace Your Compound Bow String
Signs of Wear That Demand Immediate Replacement
Even if your bow feels fine, worn strings compromise safety and accuracy. You need to replace immediately if you notice fraying or broken strands in the main string or cables. Look for fuzzing or loose fibers, especially near cam grooves. Watch for peep sight rotation during the draw, which indicates string stretch. Delaminated serving, loss of brace height due to permanent stretching, and inconsistent arrow flight or poor grouping all signal it’s time for a new string.
Environmental factors like UV exposure, moisture, and extreme temperatures accelerate degradation. A bow stored for years may have weakened strings despite low use.
Recommended Replacement Intervals
Different shooting scenarios demand different replacement schedules. Target bows should be replaced annually because high shot volume and lighter arrows increase string stress. Hunting bows under moderate use need replacement every 1 to 2 years. High-use shooters should replace after 2,000 to 2,500 shots, regardless of visible wear.
Proactive replacement is smarter than waiting for failure. Think of it like changing your car’s oil. Preventive maintenance saves money and prevents breakdowns.
Essential Tools for Restringing a Compound Bow
Must-Have Equipment for Safe Restringing
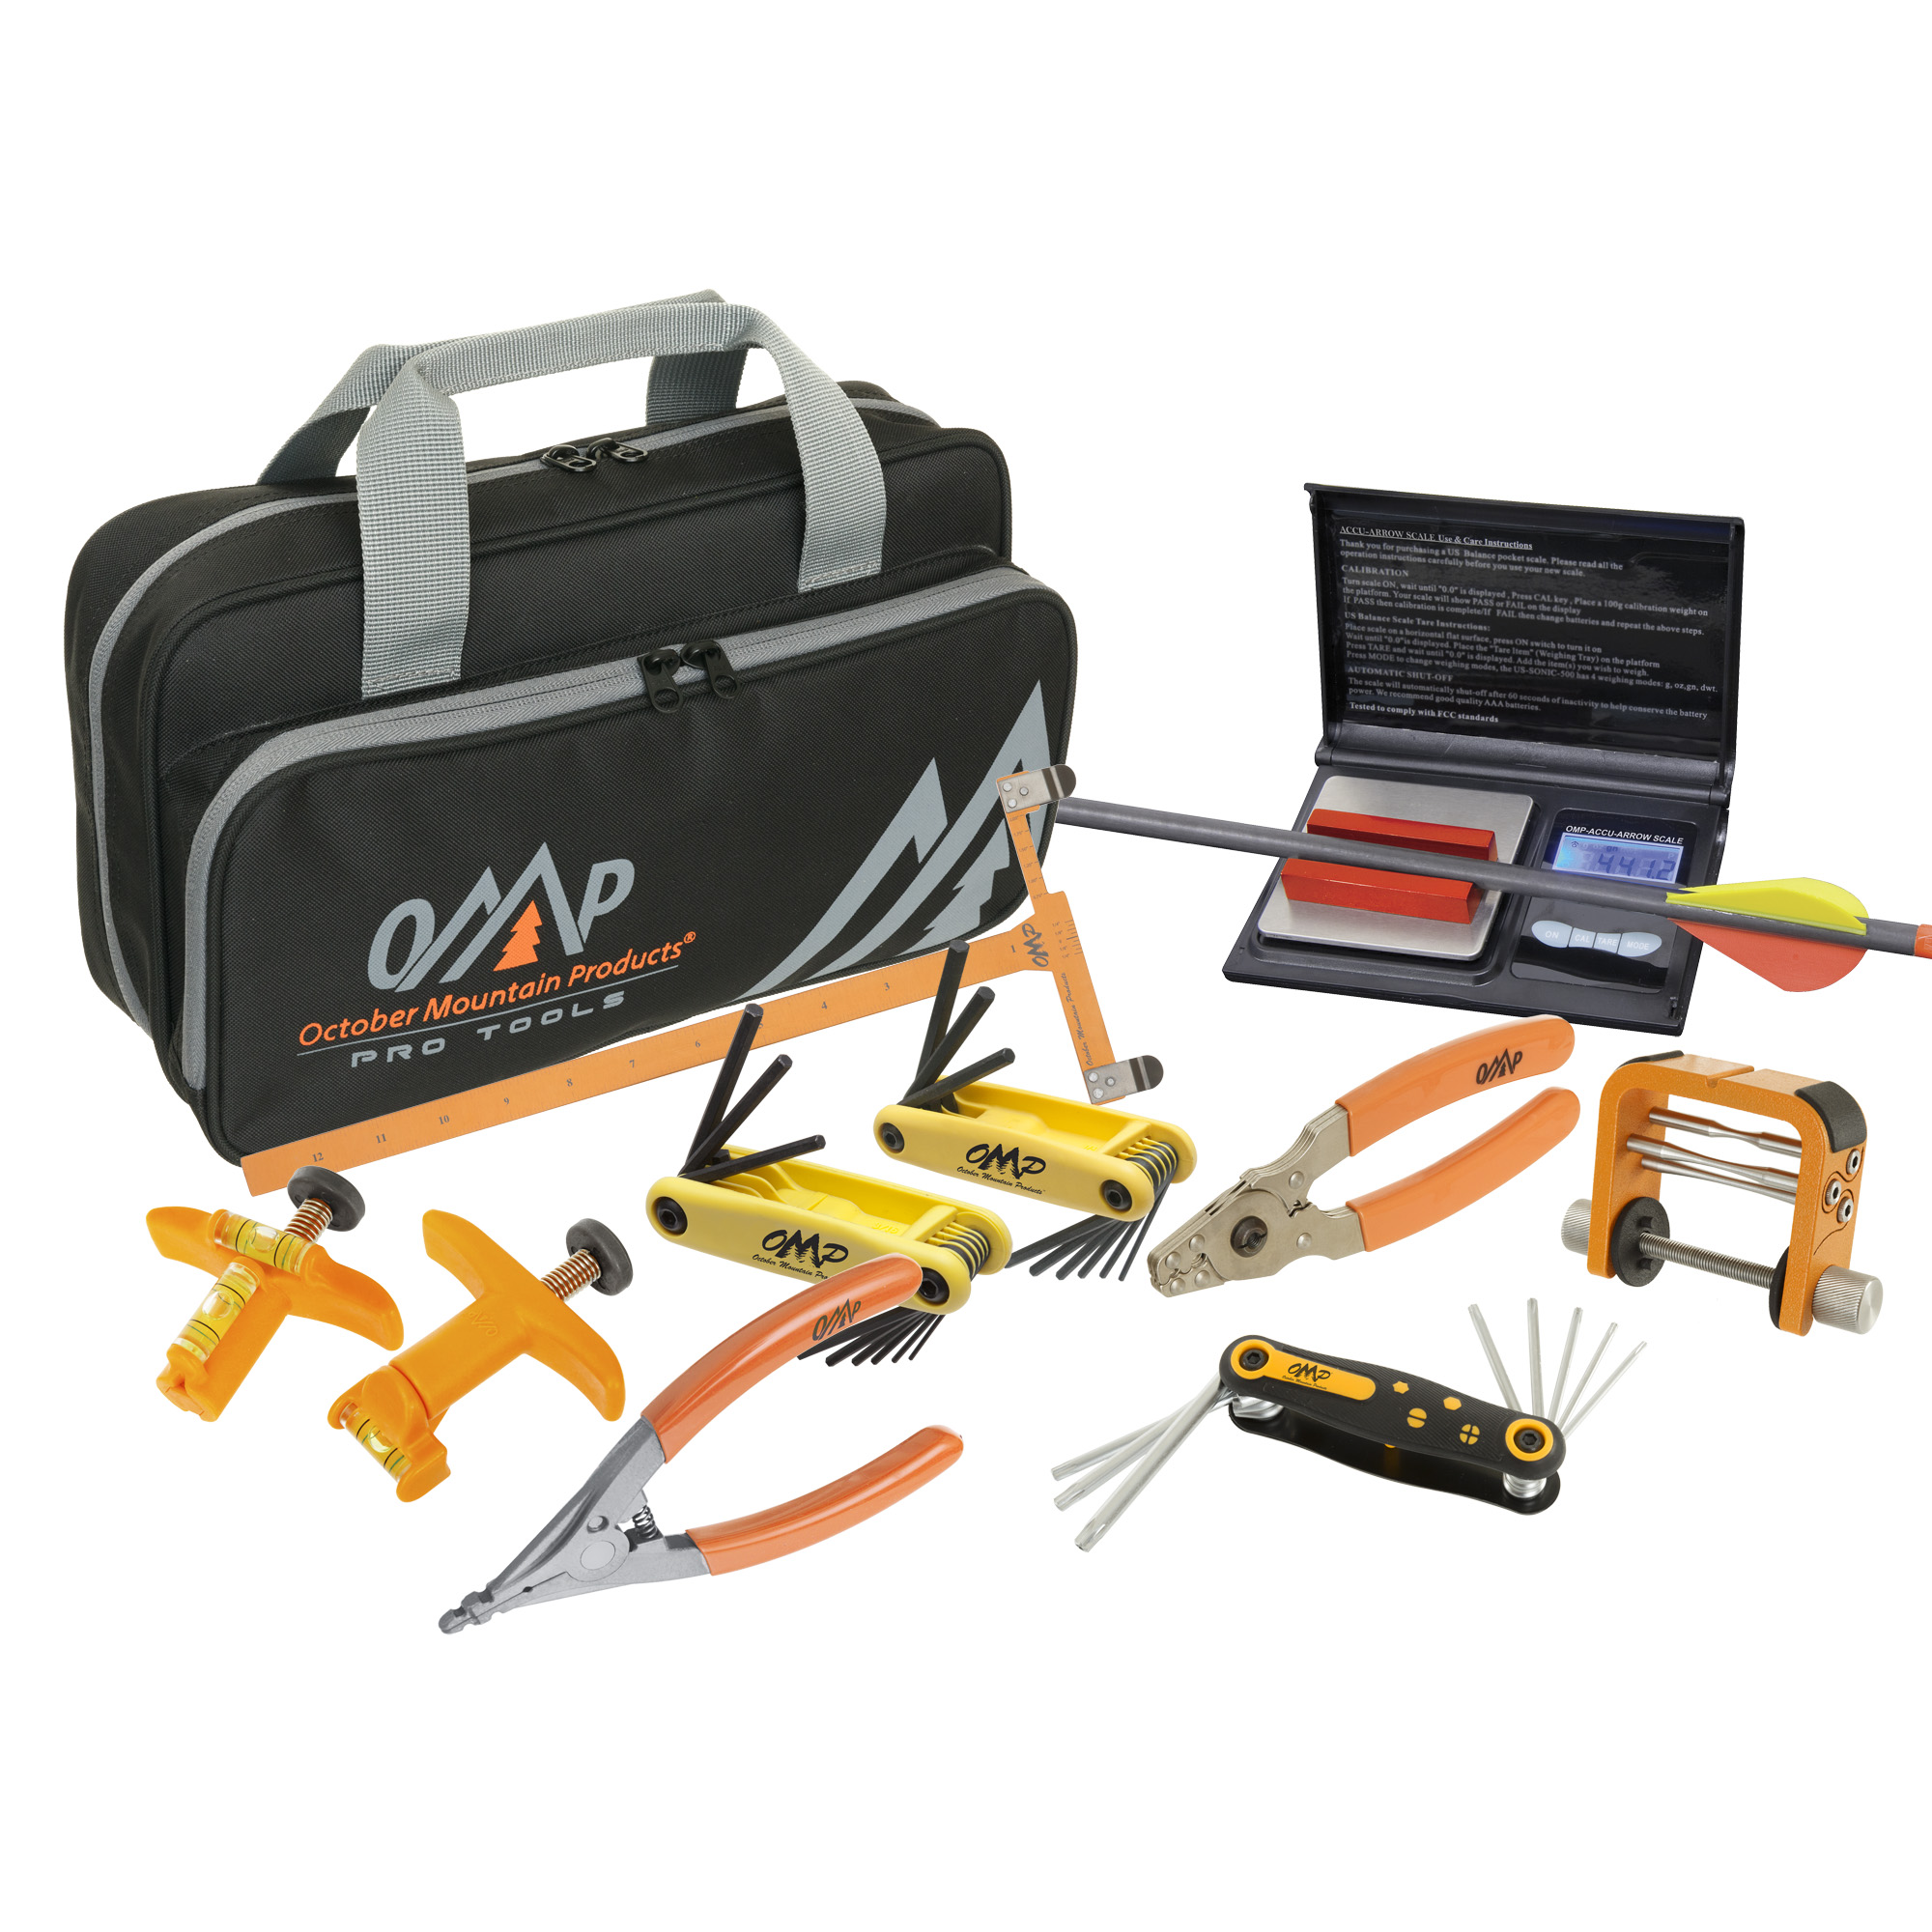
You cannot restring a modern compound bow without the right tools. Here is what you need:
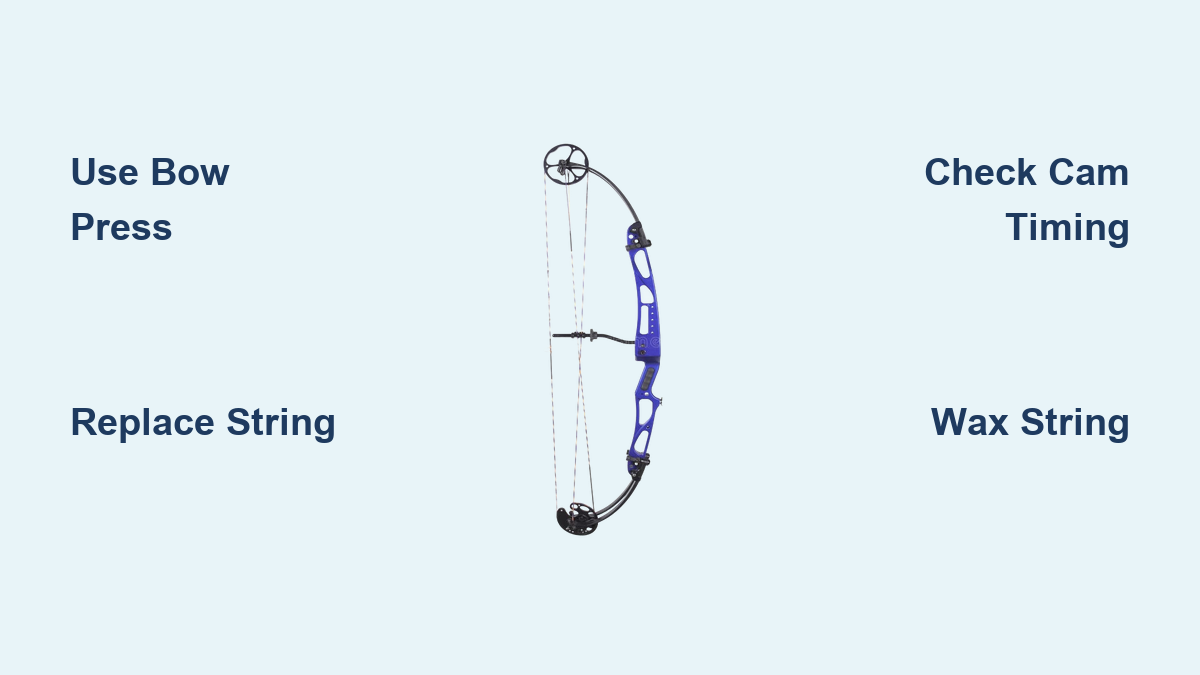
• Bow press, which relieves limb tension so you can safely remove strings and cables
• T-handle or Allen wrench set for adjusting limb bolts and removing cam axles
• Yoke splitter to ensure even tension when installing yoke cables on split-cam systems
• Peep sight removal tool or utility knife to cut serving for peep removal
• Serving tool and material to reapply protective wrapping after peep installation
• Measuring tape or bow square to verify brace height and axle-to-axle distance
• String wax to protect fibers and extend string life
Why a Bow Press Is Non-Negotiable
The bow press is the only safe way to restring modern compound bows. It compresses the limbs, reducing tension on the string and cables. Without it, the stored energy in the limbs makes restringing impossible and extremely dangerous.
Double-cam, single-cam, and hybrid systems all require a press. Past-parallel limb designs need a compatible press to avoid damaging limbs. Portable presses are available for home or field use, ideal for remote hunters.
Warning: Never attempt to restring a derailed dual-cam bow without a press. No safe DIY method exists.
Step-by-Step: Restringing with a Bow Press
Prepare the Bow and Press
Follow these steps to prepare properly:
- Secure the bow in the press, ensuring limb tips are properly seated.
- Loosen limb bolts 5 to 7 turns, alternating top and bottom, to reduce initial tension.
- Align press arms with the limb tips to prevent uneven stress.
- Slowly engage the press until the string has slack, usually 1 to 2 inches of clearance.
Check: Ensure your press is compatible with your bow’s axle-to-axle length and limb design.
Remove the Old String and Cables
Work one cam at a time to maintain balance and avoid misalignment.
Remove the peep sight first. Cut the serving with a utility knife or peep removal tool. Slide the peep sight out carefully. If reusing it, note its exact position.
Remove the main string with the bow under press. Detach the top loop from the top cam and the bottom loop from the bottom cam. Note the routing, especially on single-cam systems where the string wraps around the idler wheel.
Remove the cables. Unhook the control cable from the bottom cam and slide it out of the cable slide. For yoke cables, remove from the bottom cam and detach front ends from the top cam. Save paper clips or twist markers as tuning references.
Pro Tip: Take photos before removal. They will help during reassembly.
Install the New String and Cables
Attach the control cable by routing the new control cable through the cable slide. Secure it to the bottom cam, matching the original orientation.
Install yoke cables using a yoke splitter to evenly seat both legs. Attach to the top cam, preserving twist markers. Ensure no binding or rubbing against the cam track.
Install the main string by threading the new string onto both cams. For dual-cam systems, loops go into designated grooves. For single-cam systems, route the string around the idler wheel first, then attach to cam. Ensure loops are fully seated and the string lies flat with no twists.
Factory strings often have a serving mark indicating peep sight location and string center point.
Final Assembly and Release
Double-check all connections before releasing the press. Cables must be seated in cam tracks with no loose strands or obstructions. Yokes must be balanced and centered.
Slowly release the press while watching for popping or shifting. Once fully released, inspect all components thoroughly.
Hand Restringing: Only for Teardrop Bows

Can You Restring Without a Press
Only older compound bows with teardrop limb attachments and an intact old string can be restrung manually. This method does not work on modern compound bows or if the string is broken.
Step-by-Step Manual Method
- Loosen limb bolts one full turn, alternating top and bottom.
- Step on the old string with both feet, shoulder-width apart.
- Lift the grip upward, flexing the limbs inward to create slack.
- Slide new string loops into the empty grooves on both teardrops.
- Step on the new string, then partially draw the bow by hand.
- Remove the old string from the now-vacant grooves.
- Inspect seating, wax the new string, and test with slow draws.
Limitation: This method cannot restring a derailed bow. The old string must still be functional to create leverage.
Fixing a Derailed Bow Without a Press
Real-World Scenario: Remote Location Emergency
Imagine your Bear Cruzer derailed during a hunting trip on a remote island with no archery shop nearby. Can you fix it safely?
Short answer: No, not safely. The Bear Cruzer uses a dual-cam system under high tension. Without a press, you cannot reseat the string onto the cams. DIY attempts with ratchets, straps, or vices are dangerous and unreliable.
Possible Workarounds with High Risk
Seek a local hunter or archery club that may own a press. Mail the bow to a technician, which is expensive and risky but safer than improvising. Carry a portable press in the future. Lightweight models exist specifically for remote use.
Expert Quote: “Bows are weapons, designed to kill. If you aren’t comfortable or don’t know what you are doing, get some assistance.” 60X Custom Strings
Post-Installation Tuning and Verification
Check Axle-to-Axle Distance
Measure from center of top axle to center of bottom axle. The standard spec is usually 33 inches, but check your manual. Add twists to the control cable to shorten the distance. Remove twists to increase the distance. Make adjustments while the bow is still in the press.
Set Brace Height
Measure from string at brace point to back of grip. Typical range is 6.5 to 7.75 inches, depending on your model. Twist or untwist the main string in 1/8-inch increments. Use a bow square for accuracy.
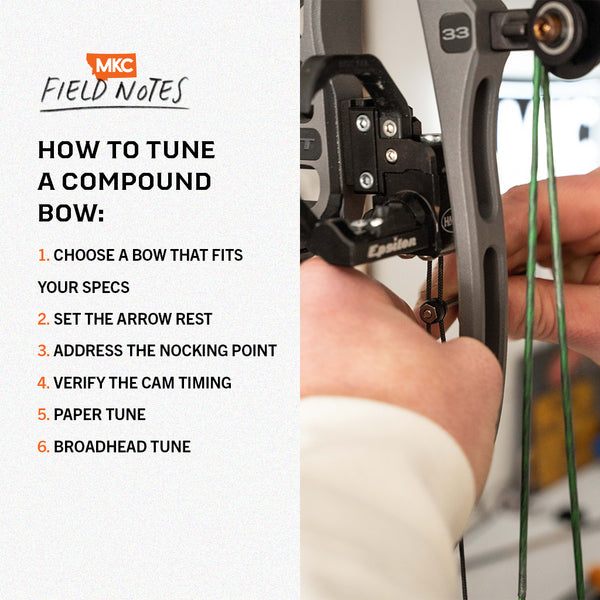
Verify Cam Timing
On dual-cam systems, both cams must rotate in sync. Use timing marks or a string between cam centers. Misaligned cams cause poor arrow flight, excessive vibration, and premature string wear.
Tune the Yokes
Adjust twist count to align the top cam. Add twists to the left yoke to rotate the cam clockwise. Add twists to the right yoke to rotate it counterclockwise. Match factory settings or use paper tuning to refine.
Perform Paper Tuning
Shoot an arrow through paper to diagnose flight issues. A nock-high tear means lower the nocking point or adjust the rest. A nock-low tear means raise the nocking point. Fishtailing requires yoke or rest alignment adjustments. Fine-tune until you get a clean, bullet hole.
Safety First: Critical Precautions
Must-Follow Safety Rules
Always wear safety glasses because limb or cam failure can cause eye injury. Work in a clean, distraction-free area. Never force components because misalignment leads to damage. Do not dry-fire the bow during testing.
When to Call a Professional
Seek help if you are new to bow maintenance, your bow has a complex cam system like binary or hybrid cams, you are unsure about cable routing or tuning, or the bow was derailed or damaged. Typical shop service costs $50 to $100, including tuning and inspection.
Bottom Line: If you are not confident, do not risk it. Safety is more important than saving a few dollars.
Maintenance After Restringing
Immediate Post-Installation Steps
Shoot 20 to 30 practice arrows to seat the string and cables. Recheck brace height and axle-to-axle measurements, adjusting if needed. Wax the new string thoroughly to protect the fibers.
Ongoing Care Tips
Wax the string every 3 to 5 shooting sessions. Inspect before each use for fraying, loose servings, or peep rotation. Measure brace height monthly. Store in a hard case, away from direct sunlight, moisture, and extreme temperatures.
Pro Tip: Document your restringing process with photos. This helps with future maintenance and troubleshooting.
Choosing the Right String and Cable Set
Material Types Compared
Dyneema offers very high strength with low stretch and excellent UV resistance, making it best for premium performance. Spectra provides high strength with moderate stretch and good UV resistance, suited for mid-range bows. Vectran delivers high strength with very low stretch, best for tuning stability, though it has fair UV resistance.
Compatibility Is Key
Always match the ATA axle-to-axle length, cam system type, and string length, strand count, and diameter. Using incorrect specs risks poor performance, cam timing failure, limb damage, and voided warranty.
Trusted suppliers include Mean Moose Archery for pre-configured sets and 60X Custom Strings for custom colors and high-end materials.
Key Takeaways for Restringing Your Compound Bow
Knowing how to restring a compound bow empowers you to maintain peak performance and extend your bow’s life. The bow press is mandatory for all modern compound bows. Only teardrop-style bows with intact old strings can be restrung manually. Replace strings proactively every 1 to 2 years or after 2,500 shots. Always prioritize safety over convenience. With the right tools, knowledge, and caution, you can keep your compound bow in top condition for years to come.
Frequently Asked Questions About Restringing Compound Bows
How often should I replace my compound bow string?
Replace target bow strings annually due to high shot volume. Replace hunting bow strings every 1 to 2 years under moderate use. Replace after 2,000 to 2,500 shots regardless of visible wear.
Can I restring my compound bow without a bow press?
Only older teardrop-style bows with an intact old string can be restrung manually. All modern compound bows require a bow press for safe restringing.
What are the signs that my bow string needs replacing?
Look for fraying or broken strands, fuzzing near cam grooves, peep sight rotation during the draw, delaminated serving, loss of brace height, and inconsistent arrow flight.
How long does it take to restring a compound bow?
With experience and proper tools, the actual restringing process takes under 5 minutes. Setup and tuning may add additional time.
Can I replace just the string, or do I need to replace cables too?
Replace all cables with the string for balanced wear and optimal performance. Replacing only the string can cause uneven stress and tuning issues.
What happens if I don’t replace a worn bow string?
Worn strings break unexpectedly, causing potential injury. They also reduce accuracy, speed, and consistency while increasing vibration and premature component wear.


