

How to Change Bow String Without Press
Changing a bow string without press equipment might sound impossible, but for certain compound bow models, it’s actually designed into the system. If you’re stranded in the field miles from a pro shop and your string snaps during a hunt, knowing how to change bow string without press tools could save your trip. This guide covers safe, model-specific methods, essential tools, step-by-step procedures, and critical warnings so you can act confidently without damaging your bow or risking injury.
While a bow press remains the gold standard for string replacement, some bows are engineered to allow full servicing without one. The key is knowing whether your bow supports press-free maintenance and which method applies. Attempting these techniques on incompatible models can lead to limb damage, cam misalignment, or catastrophic failure.
Confirm Your Bow Supports Press-Free Servicing
Not all compound bows can be serviced without a press. Only specific models are designed to safely release tension through alternative methods.
Bows That Allow Press-Free Servicing
These bows are engineered for press-free maintenance. Always verify your specific model before proceeding.
• Mathews Genesis: Back out limb bolts to reach zero draw weight
• Sucker Punch Junior / Cajun Series: Loosen limb bolts 12-14 turns until string goes limp
• APA Bows: Use Allen wrench in cam hole to block rotation
• Winn & Winn (select models): Modular limbs and long bolts enable disassembly
• Martin Bows (older models): Cam geometry allows safe servicing
• Hoyt / Diamond Atomic (youth models): Low draw weight allows temporary cam blocking
Bows That Require a Press
These models should never be serviced without proper equipment.
• Most high-performance compounds (Bowtech, PSE, newer Mathews)
• Bows with narrow limbs, high let-off (80%+), or binary/single-cam systems
• Any model not listed as press-free serviceable
Critical Rule: Never assume compatibility. Check your bow’s manual or manufacturer specs before starting.
Essential Tools for Press-Free String Replacement
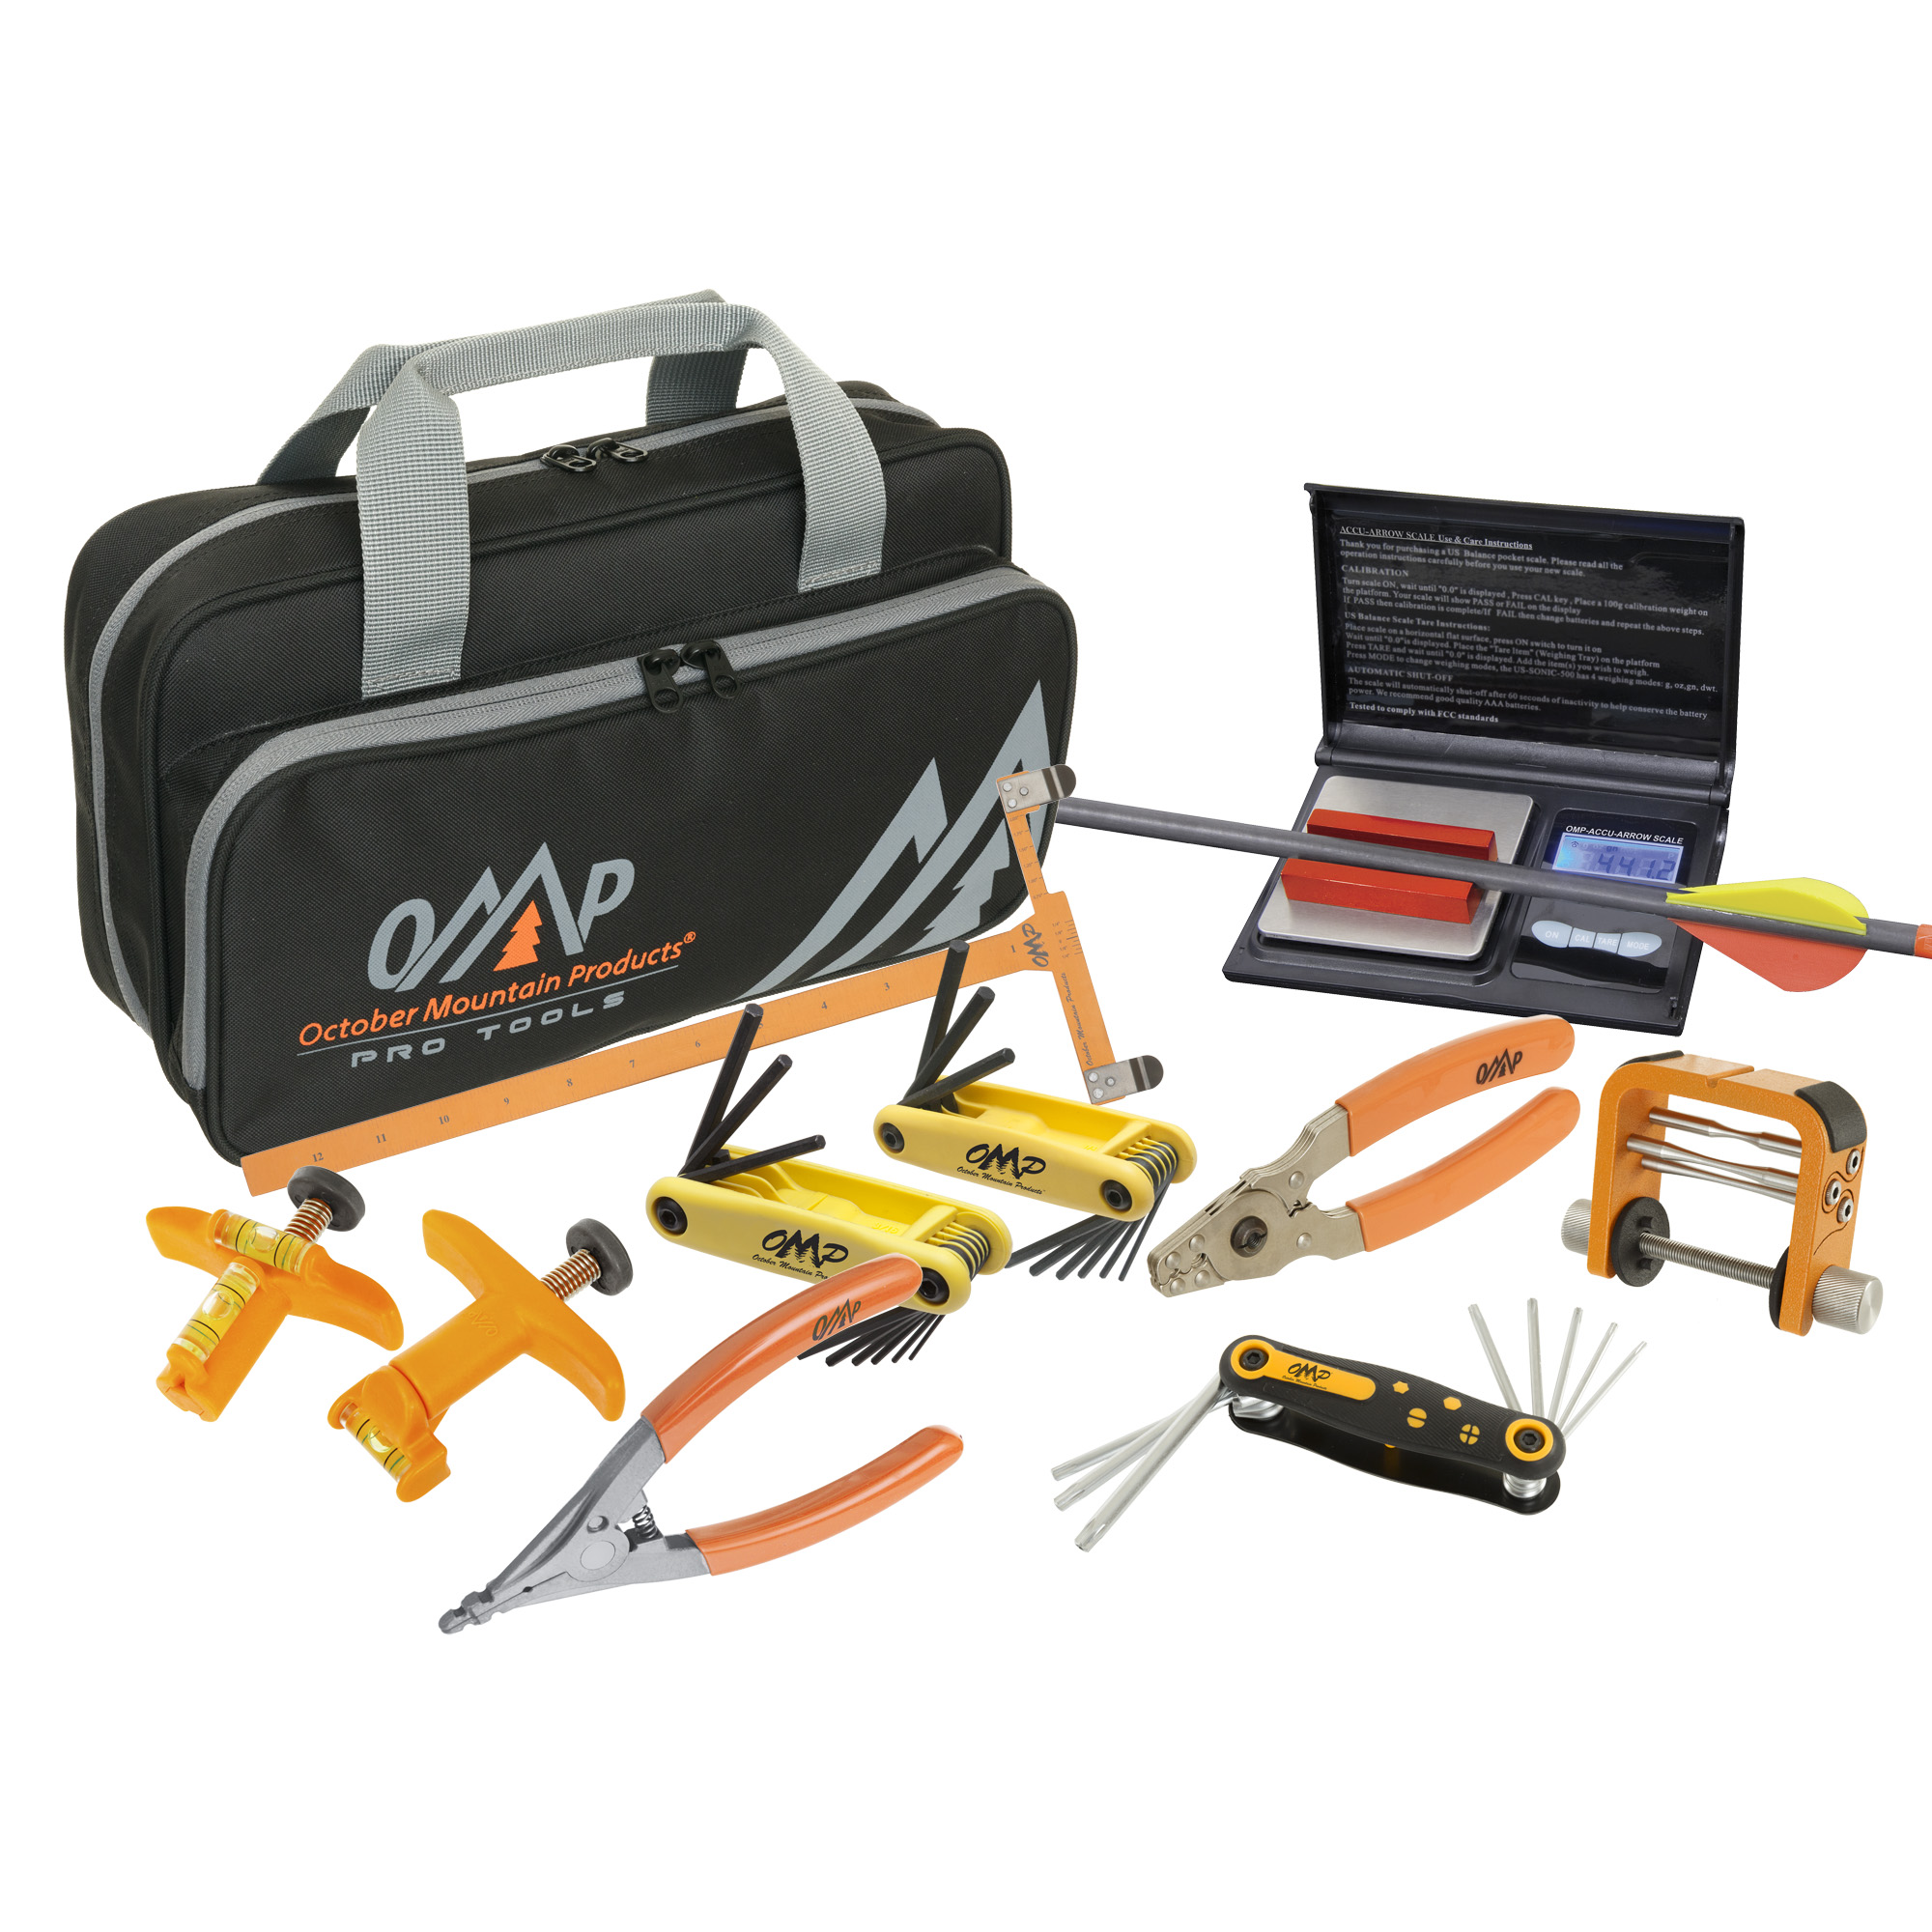
Even without a press, you need the right tools to work safely and accurately.
| Tool | Purpose |
|---|---|
| Allen wrench set | Adjust limb bolts evenly |
| Ratchet or torque wrench | Prevent over-tightening |
| Tape measure | Verify axle-to-axle and brace height |
| Pen, wooden dowel, or spare axle | Block cam rotation safely |
| Camera or phone | Photograph original setup for reassembly |
| Hardened steel pin (wrapped) | Insert into cam holes |
| Rope or ratchet strap | For improvised pressing methods |
| Rubber hose or limb protector | Prevent tool damage to limb tips |
Pro Tip: Pack a mini toolkit with Allen keys, a multi-bit driver, and a spare peep for emergencies.
Method 1: Limb Bolt Adjustment (Mathews Genesis, Sucker Punch, Cajun)
Use this method only on bows designed to reach zero draw weight when limb bolts are loosened.
Loosen Limb Bolts Evenly
• Back out top and bottom limb bolts 10-14 turns
• Alternate turns: a few on top, then bottom, to release pressure evenly
• Stop when string is completely slack, cam gap opens, and no resistance when pulling the string
Safety Check: Gently pull the string. If it resists, keep loosening.
Document Original Setup
Take clear photos of cam timing marks (S and C), cable routing and split-bus attachment, and rocker wheel position. These images serve as your reassembly blueprint.
Remove Old String
• Pop off split-bus tops from both cams
• Slide split bus off the cam post
• Flip top cam and detach the string
• Carefully remove rocker wheel and set aside safely
• Repeat on bottom cam
Warning: Small parts can fall out. Work over a towel or tray.
Install New String
• Reattach string post to top cam
• Feed cable over post, apply hand tension
• Reinsert rocker wheel: loosen split bus, slide in wheel, resecure
• Repeat on bottom cam
• Ensure all components are fully seated
Re-Tighten Limbs Gradually
• Alternate tightening top and bottom limb bolts
• Crank until limbs are snug, cams are fully seated, and original draw weight is restored
Never measure brace height until limbs are fully cranked.
Final Checks
• Inspect alignment: Look down the bow for no dog-leg twist
• Draw slowly and confirm smooth cam movement
• Adjust cable twists if string doesn’t track straight
• Re-measure axle-to-axle and brace height
Method 2: Cam Blocking (APA, Z7, Some Hoyt Models)

Use this on bows with accessible cam holes or serviceable cam designs.
Insert Tool into Cam Hole
• Pull cable to expose hole in cam
• Insert Allen wrench, dowel, or spare axle through the C (cable) side
• Push all the way through both sides must be supported
• Cable will loosen, releasing tension
Pro Tip: Use a spare axle instead of a screwdriver to reduce cam wear.
Remove and Replace Cable
• Take out old cable
• Feed new cable through the hole, under roller, over string path
• Secure with small cap using a pen or tool
Replace the String
• Remove old string
• Install new string so it wraps behind the cam, runs around idler wheel, and aligns with S mark in track
• Ensure string is fully seated in groove
Install Accessories
• Peep sight: Slide into D-loop or split strands. Keep red and brown strands separated to prevent rotation
• D-loop: Tie around down-cable for free rotation
• Push cap over post with pen to secure
Fine-Tune the System
• Adjust twists in string and cable to center cam, align string through peep, and correct idler wheel tilt
• Add twists to left eye if paper-tuning shows tail-left error
• Add twists to cable if string rides high in peep window
Verify Final Settings
• Re-check axle-to-axle, brace height, and idler alignment
• Ensure bow is quiet and vibration-free
• Confirm string runs straight through peep
Method 3: Two-Person Cam Pinning Technique
For bows without zero-tension designs. Use with extreme caution.
Prepare the Bow
• Unload and inspect
• Identify bottom cam with accessible spoke slots
Draw Slightly to Rotate Cam
• One person draws bow just enough to start cam rotation
• Do not go to full draw stress is too high
Insert Pin into Cam Spoke
• While under tension, insert hardened steel pin or Allen wrench into spoke hole
• Position pin below cam, resting against limb tip as a stop
Lower String Gently
• Slowly release draw. Cam settles against pin, slackening string
• Now you can replace string, adjust peep, or repair serving
Reinstall and Release
• Assistant draws bow again to create slack
• Remove pin while tension is held
• Slowly let down never dry-fire
Safety Note: Wear eye protection. Avoid thin or fragile spokes. Not for single-cam systems.
Method 4: Solo Field Press with Rope and Anchor
A single archer can press limbs together using body weight and an anchor point.
Setup the Anchor
• Loop strong rope over sturdy overhead branch or beam
• Secure tightly
Position the Bow
• Place bow vertically beneath anchor
• Wrap rope around both limb tips
• Step under and use body weight to pull down on string
Pin the Cams
• As limbs compress, insert pins into cam axle holes
• Lock position so string can be removed
Replace String
• Remove old string
• Install new one with correct routing
Release Safely
• Remove pins
• Slowly stand up, releasing pressure
• Inspect before shooting
Critical: Anchor must be stronger than bow’s stored energy. Failure risks injury.
Method 5: Peep Adjustment at Full Draw
The only universally safe press-free method for most compound bows.
Have Helper Draw to Full Draw
• Use a mechanical release
• At full draw, string carries minimal load force is on cables
Adjust Peep Sight
• Temporarily split serving
• Insert peep into loop
• Re-serve using pre-wrapped or quick-serve method
Let Down Slowly
• Assistant slowly releases draw
• String re-tensions safely
Advantage: No tools, no risk. Works on all compound bows.
Risks and Warnings You Must Know
Press-free string replacement is not risk-free. Know the dangers before proceeding.
| Risk | Prevention |
|---|---|
| Limb damage | Only on compatible models; never force |
| Cam deformation | Use proper tools no screwdrivers on soft cams |
| Injury from flying parts | Wear eye protection; work slowly |
| Poor tuning | Follow original routing; double-check alignment |
| Dry-fire | Never release string without arrow or plug |
“It’s like playing with fire. You might get away with it once, but eventually it catches up.”
When to Use a Bow Press Instead
A portable press is worth the investment if your bow isn’t press-free compatible, you’re inexperienced with bow mechanics, draw weight exceeds 50 lbs, cam system has no access holes, or you’re replacing both string and cables.
Affordable Press Options
• RatchetLok Press: $30-60
• BowMaster Portable: ~$40
• NiteHawk Archery Press: ~$130 (crossbow compatible)
Best Advice: A $50 press beats a $500 bow repair.
Frequently Asked Questions About Changing Bow String Without Press
Can I change my bow string without a press at home?
Yes, but only if your specific bow model is designed for press-free servicing. Most modern high-performance compound bows require a press. Check your manufacturer’s specifications before attempting any press-free work.
Which bow models allow press-free string replacement?
Models designed for press-free servicing include Mathews Genesis, Sucker Punch Junior and Cajun Series, APA Bows, select Winn and Winn models, older Martin Bows, and youth models from Hoyt and Diamond Atomic. Never assume compatibility without verifying.
Is it safe to change bow string without press equipment?
It carries significant risks including limb warping, cam damage, and personal injury. Only attempt press-free methods on compatible models using proper techniques and tools. For most archers, using a portable press or visiting a pro shop is the safer choice.
How long does press-free string replacement take?
On compatible models like the Sucker Punch Cajun series, experienced archers can complete the job in under 5 minutes. First-time attempts may take 30-60 minutes. Emergency field repairs on compatible bows can be done in under 10 minutes.
What happens if I use press-free methods on the wrong bow?
You risk permanent damage to limbs and cams, catastrophic bow failure, voiding your warranty, and personal injury from flying components. Always confirm compatibility before proceeding.
Should I buy a portable bow press instead?
If you own a bow that requires a press, are inexperienced with bow mechanics, or plan regular string changes, investing in a portable press ($30-130) is strongly recommended. It provides safe, repeatable results and protects your equipment.
Key Takeaways for Press-Free String Replacement
Changing a bow string without press equipment is possible but comes with serious caveats. Only attempt press-free methods on specifically designed models like the Mathews Genesis, Sucker Punch Junior, or APA bows. Always verify your bow’s compatibility before starting, document your setup with photos, and use proper tools including Allen wrenches, a torque wrench, and pins for cam blocking.
For most archers, investing in a portable bow press or visiting a professional pro shop remains the safest and most reliable approach. The risks of press-free work on incompatible bows far outweigh the convenience, especially when dealing with high-performance equipment. Know your bow, respect the mechanical forces involved, and prioritize safety over convenience.


