
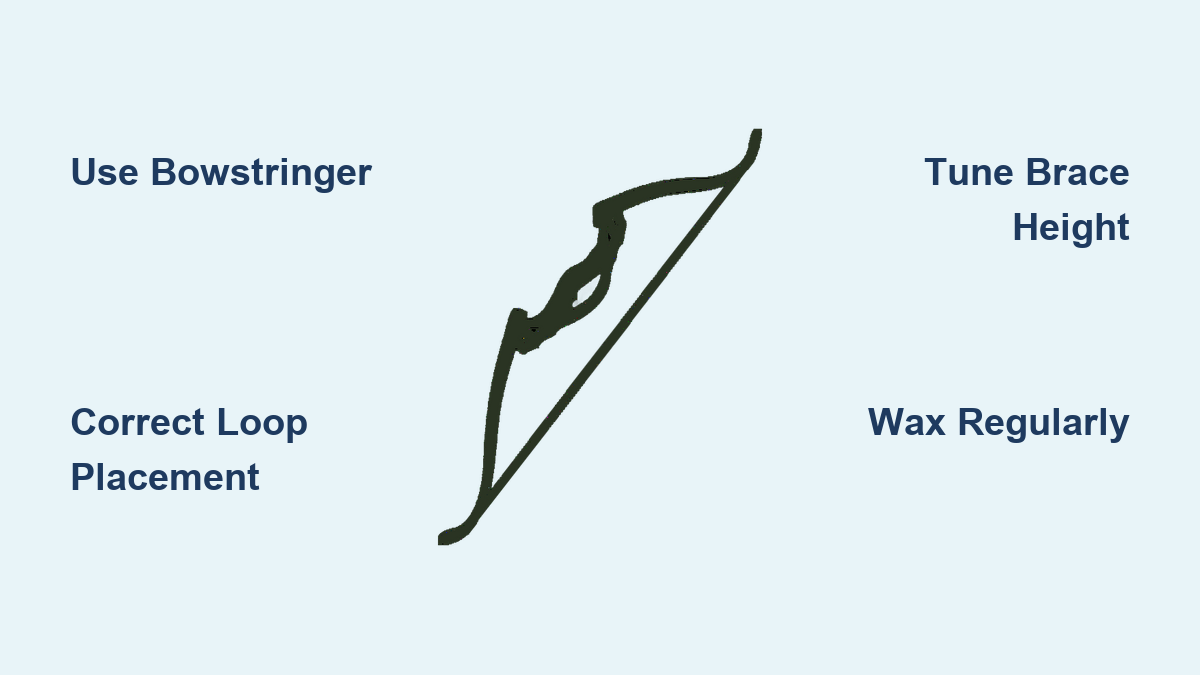
How to Restring a Recurve Bow: Step-by-Step Guide
Youve just returned from the range, bow in hand, when you notice a frayed strand on your string. Or maybe you’re prepping for a hunting trip and want to ensure peak performance. Knowing how to restring a recurve bow safely and correctly is essential for every archer, whether beginner or veteran. A worn or improperly installed string can lead to poor accuracy, limb damage, or even injury.
This guide walks you through every step of restringing a recurve bow, from selecting the correct string and using a bowstringer to tuning brace height and ensuring long-term care. You’ll learn both tool-assisted and manual methods, safety protocols, and how to verify a secure fit.
Choose the Correct Bowstring
Selecting the right bowstring is the foundation of a successful restring. Using an incorrect string risks over-stressing the limbs or failing to seat properly, which compromises both safety and performance.
Match String to Bow Length
Every recurve bow has an AMO (Archery Manufacturers and Merchants Organization) length, typically 62″, 64″, 66″, or 68″. The correct string is 2 inches shorter than this length.
For example:
– A 68″ bow uses a 66″ string
– A 64″ bow uses a 62″ string
– A 66″ bow uses a 64″ string
Using the wrong length risks over-stressing the limbs or failing to seat the string properly.
Select the Right String Material
Different materials offer varying performance characteristics and durability levels.
Dacron is best for traditional and beginner bows. It’s durable and stretch-resistant but stretches more over time than other materials.
FastFlight (Spectra/HDPE) is a low-stretch, high-speed material designed for performance bows. It requires careful handling and must be pre-stretched before final tuning.
BCY (452X, 8190) is a premium synthetic blend offering excellent strength, speed, and longevity. It’s favored by competitive archers who demand the best performance.
Pro Tip: FastFlight strings require pre-stretching before final tuning, as they settle less than Dacron and need extra attention during break-in.
Install Loops Correctly
The bowstring has two loops designed for specific placement:
– The larger loop goes on the top limb tip
– The smaller loop fits into the bottom limb groove
This design balances tension and prevents slippage during use. Reversing them increases stress on the limbs and may cause damage to the bow.
Gather Essential Tools and Safety Gear
Having the right tools before starting ensures a smooth, safe restringing process. Missing equipment can lead to shortcuts that compromise safety or performance.
Required Equipment
Ensure you have these items before beginning:
– Recurve bow stringer (pouch-and-saddle or two-pocket type)
– Correct-length bowstring
– Bowstring wax
– Measuring tape or ruler
– T-square (optional, for precision tuning)
– Gloves (optional, for grip and protection)
Apply Bowstring Wax Before Installation
Wax the ends of both loops and the string grooves on the limb tips. This reduces friction during installation and prevents premature wear.
Warning: Dry strings create more friction, increasing the risk of slippage or groove damage during stringing.
Choose a Safe Workspace
Select an open space with room to move freely. Point the bow away from your body at all times. Never attempt to string a bow while seated or in tight quarters.
Attach String with a Bowstringer

Using a bowstringer is the safest and most reliable method for restringing a recurve bow. This tool provides controlled leverage that minimizes the risk of injury or equipment damage.
Position the String Loops First
Slide the larger loop over the top limb tip, letting it hang loosely in the groove. Place the smaller loop into the bottom limb groove. If the loop is loose, wrap a rubber band around it to hold it in place temporarily.
Set Up the Stringer
For pouch-and-saddle stringers, place the pouch over the top limb tip and hook the saddle onto the bottom limb, just behind the groove (approximately 3 inches back).
For two-pocket stringers, place the larger pocket over the bottom limb (covering the small loop) and the smaller pocket over the top limb tip.
Execute the Stringing Process
Hold the bow grip with your non-dominant hand. Keep the bow horizontal with limbs pointing upward. Bend at the waist and lower the bow until the stringer foot loop touches the ground. Place both feet shoulder-width apart on the foot loop.
With your dominant hand, grasp the loose upper loop of the string. Step down on the foot loop and pull the bow upward using your legs and core. This bends the bow, shortening the distance between limb tips.
Seat the Upper Loop Securely
As tension increases, guide the upper string loop up the top limb tip. Slide it fully into the groove. Run your finger along the loop to confirm it’s seated and not twisted. Hold it in place until the bow is fully bent.
Release Tension Gradually
Slowly lower the bow back down. Let the limbs return to their natural curve. The string will now hold tension on its own.
Never rush this step—sudden release can cause the string to slip or snap, potentially causing injury.
Remove the Stringer
Once slack appears in the stringer, remove your feet. Detach the pouch and saddle from both limbs. Discard any rubber band used for temporary securing.
String Manually Without Tools
Manual stringing is viable for experienced archers with moderate poundage bows up to 50 lbs. This method requires proper form and carries higher risk than using a stringer.
Use the Bench-Press Stance
Place your left foot through the lower string loop. Hook the string behind your right ankle. Bring the bow close to your chest. Adopt a bench-press posture with feet shoulder-width apart, back straight, chest up, and arms close to torso.
Apply Body Leverage
Push the bow upward with your arms while pulling down with your legs. This uses your body weight to bend the bow gradually. Continue until the bottom limb groove aligns with the lower string end.
Seat and Verify the Lower Loop
Slide the smaller loop onto the bottom limb tip and into the groove. Ensure it clicks or seats firmly. Check both loops for full seating and no twists. Perform the pluck test—a clear, resonant tone means the string is secure.
Note: Avoid this method for beginners or bows over 40 lbs. The risk of limb slippage or injury is significantly higher.
Unstring the Bow Safely
Leaving a recurve bow strung stresses the limbs, especially wooden models. Always unstring after shooting to extend the bow’s lifespan.
Manual Unstringing Steps
Place your left foot through the lower string loop. Hook the string behind your right leg, above the ankle. Pull the bow close in a bench-press stance. Push the bow downward with your arms while resisting with your legs. This compresses the limbs, loosening the top loop.
Slide the larger loop off the top limb tip. Lift the string off the bottom limb groove.
Check: The bow should return to its natural curved shape when unstrung. If it doesn’t, consult a professional before using the bow.
Tune the Brace Height
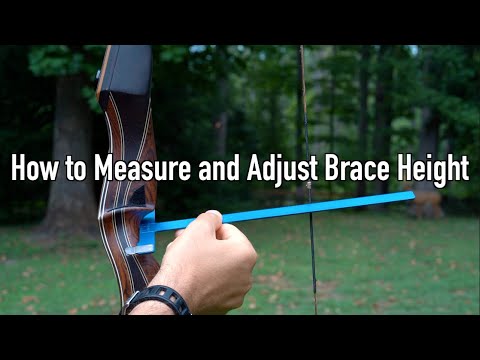
Brace height directly affects accuracy, arrow speed, and shooting feel. Proper tuning is essential after restringing.
Measure Brace Height Correctly
Brace height is the distance from the deepest part of the grip to the bowstring. The optimal range is 7.5 to 9.75 inches (19–25 cm). Use a ruler or T-square for precision measurement.
Adjust for Optimal Performance
Too low brace height (below 7.5″) causes loud “slap,” excessive vibration, and faster arrows but reduces accuracy. Too high brace height (above 9.75″) creates stiff draw, slower arrows, and a “dead” feel.
To increase brace height, add clockwise twists to shorten the string. To decrease brace height, remove twists (counterclockwise). Adjust in 2–4 twist increments, then shoot a few arrows and re-measure.
Note: New strings stretch. Recheck brace height after the first 1–2 shooting sessions.
Set the Nocking Point Correctly
The nocking point position affects arrow flight consistency. Proper placement ensures repeatable arrow release.
Position the Nocking Point
The nocking point should be ½ inch (1.25 cm) above an imaginary line from the arrow rest to the string. Use a T-square for exact alignment.
Secure with Nocking Points
Install brass or plastic nocking points above and below the nocking point to prevent slippage. The top nocking point prevents the arrow from rising, and the bottom nocking point stops it from dropping.
Break In the New String
New strings stretch during initial use. Allowing proper break-in ensures consistent performance and accurate tuning.
Allow for Initial Stretch
Shoot 50–100 arrows in the first session, or leave the bow strung overnight (not for long-term storage). After break-in, re-measure brace height and add twists if needed.
Apply Bowstring Wax
After break-in, apply bowstring wax to protect the fibers and maintain string condition. Waxing after break-in helps seal the string and prepare it for regular use.
Inspect and Maintain the String
Regular inspection and maintenance prevent sudden string failure and extend the string’s useful life.
Check Before Every Use
Look for these warning signs:
– Fraying or broken strands
– Worn servings (wrapped sections)
– Kinks or permanent bends
– Loose loops or deformed grooves
Replace immediately if any damage is found.
Wax Regularly
Wax the string every 1–2 weeks of regular use or after exposure to moisture. This prevents water absorption, reduces abrasion, and maintains strength.
Store Properly
Wooden recurve bows must always be unstrung after use. Modern composite bows may stay strung for 1–3 days but should be unstrung for storage. Store in a cool, dry place away from direct sunlight, heat, and humidity. Hang vertically or lay flat—never lean at an angle.
Know When to Replace the String
Regular replacement prevents equipment failure and maintains safe shooting conditions.
Replace If You Notice
- Fraying or fuzziness at nock points or loops
- One or more broken core strands
- Excessive stretching (can’t achieve correct brace height)
- Loose or shifting servings
- Kinks or permanent bends
- Age: Replace every 2–3 years, even with light use
Usage-Based Replacement Schedule
Dacron strings should be replaced every 200–300 shots. FastFlight and BCY strings last 1,000+ shots with proper care.
Avoid Dangerous Stringing Methods
Improper stringing techniques risk serious injury. Understanding these dangers helps you make safer choices.
Skip the Over-Under Method
This technique involves stepping on the lower loop and pulling the upper limb down with your hand. It carries high risk of limb slippage, finger injury, or facial impact. Avoid for bows over 40 lbs or if inexperienced.
Use Boot Method Only in Emergencies
Place the lower limb tip in a sturdy boot’s heel cup. Use body weight to bend the bow and attach the upper loop. This is more stable than over-under but less safe than a proper stringer. Only use when no stringer is available.
Final Safety and Performance Checklist
After restringing, always verify proper installation before shooting.
Verify Complete Installation
- Confirm both loops are fully seated in their grooves
- Check for twists in the string
- Perform the pluck test (clear tone indicates good fit)
- Measure brace height to ensure it falls within 7.5–9.75″ range
- Confirm nocking point position (½ inch above arrow rest line)
- Shoot a few test arrows at low draw to check stability
Never dry fire the bow after restringing until you’ve verified the string is properly seated and performed the pluck test.
Frequently Asked Questions About Restringing a Recurve Bow
What is the safest way to string a recurve bow?
Using a bowstringer is the safest method. It provides controlled leverage and minimizes the risk of limb slippage or personal injury, especially for bows over 40 lbs.
Can I use any string on my recurve bow?
No. Use only a string matching your bow’s AMO length and draw weight. Incorrect strings can damage the bow or cause unsafe conditions during use.
How often should I restring my recurve bow?
Replace the string every 2–3 years, or sooner if visible wear appears. Frequent shooters may need annual replacement, while occasional archers can extend this timeline.
Why does my brace height change after restringing?
New strings stretch during initial use. Allow time to settle and adjust brace height with twists as needed after the first 1–2 shooting sessions.
Can I leave my recurve bow strung all the time?
Wooden bows should always be unstrung after use. Modern composite bows can be left strung briefly (1–3 days) but should be unstrung for long-term storage.
What causes a loud slap sound when I shoot?
Low brace height typically causes this issue. Increase brace height by adding clockwise twists to the string until the sound diminishes.
Key Takeaways for Restringing Your Recurve Bow
Restringing your recurve bow doesn’t have to be intimidating. With the right tools and technique, it becomes a routine part of archery that ensures safety, accuracy, and longevity. Whether you’re at the range, in the field, or prepping at home, mastering this skill puts you in full control of your equipment.
The most critical points to remember are using a bowstringer for safety, placing the larger loop on top and smaller loop on bottom, tuning brace height to the 7.5–9.75″ range, and waxing and inspecting the string regularly. Always unstring your bow after use, especially wooden models, and replace the string every 2–3 years or sooner if damaged. Following these practices ensures your recurve bow delivers consistent performance and remains safe to shoot for years to come.


