
How to Make Recurve Bow Limbs
Creating recurve bow limbs is a blend of art, engineering, and patience. Whether you’re a traditional bowyer or a modern DIY enthusiast, crafting your own recurve limbs allows for full customization of draw weight, length, and performance. This guide walks you step by step through the process of shaping, laminating, bending, and tillering recurve bow limbs that deliver power, accuracy, and durability.
You will learn how to select the best wood for recurve bow limbs, apply steam or heat for permanent curves, use forms for consistent shaping, laminate with fiberglass for strength, and fine-tune your bow during tillering. No matter your skill level, this comprehensive walkthrough ensures you avoid common pitfalls and build a bow that performs.
Select the Best Wood for Recurve Bow Limbs
Choosing the right wood is the foundation of successful recurve bow limb construction. The wood must possess excellent flexibility, tensile strength, and the ability to hold a permanent set under tension.
Top Wood Choices for Durable Recurve Limbs
Maple and hickory remain the top choices for recurve limbs due to their strength-to-flex ratio and widespread availability. Hard maple offers exceptional energy storage, while hickory resists splitting under repeated tension cycles.
• Hard Maple: Dense and resilient, ideal for laminated or solid staves requiring high draw weights
• Hickory: Stiffer than maple, best used in thinner limb profiles where flexibility is needed
• Osage Orange: Naturally strong and flexible, excellent for high-performance builds
• Bamboo: Lightweight and self-laminating when bundled, great for hybrid constructions
• Ipe or Red Oak: Extremely dense hardwoods that require thorough steaming before bending
Tip: Always select quarter-sawn lumber with straight, continuous grain. The back of the bow must have unbroken growth rings to prevent catastrophic failure under load.
Woods to Avoid for Recurve Bow Limbs
Softwoods like pine and poplar lack the tensile strength required for safe recurve use. Avoid any wood with knots, checks, or irregular grain patterns, as these weak points concentrate stress and cause premature failure.
Cut and Prepare Your Stave for Recurve Limbs
Proper stave preparation determines how well your recurve bow limbs will perform. Taking time to mark and cut accurately prevents problems during bending and tillering.
Determine Optimal Stave Dimensions
For a 64-inch bow designed for a 28-inch draw length, cut your stave 66 to 68 inches long to allow for tip shaping and adjustments. Width should be 1.75 to 2 inches, with thickness ranging from 1 to 1.5 inches depending on your chosen wood and target draw weight.
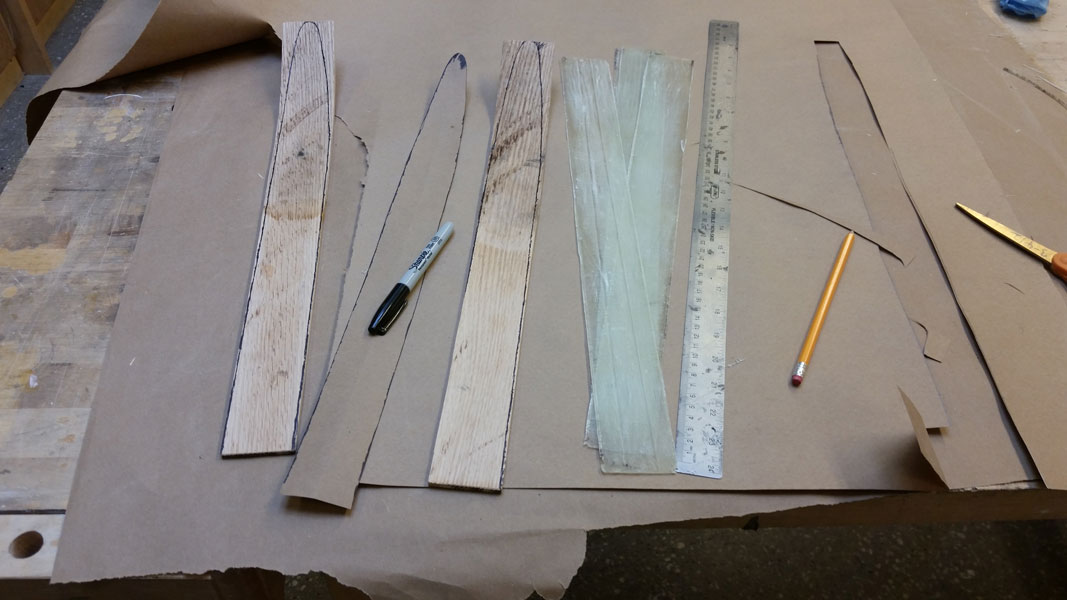
Mark Critical Sections on the Stave
Use a compass and marker to draw smooth curves from the handle area to the tips, ensuring gradual tapering throughout the working limb section. Mark three key areas:
- Riser (Handle): Center 3 inches, leave slightly thicker (up to 20% more material)
- Working Limbs: Extend 28 to 30 inches from each side of the riser
- Tips: Final 4 to 6 inches reserved for string attachment grooves
Warning: Never remove material from the back (outer curve when strung). Always shape from the belly side facing the archer when drawn.
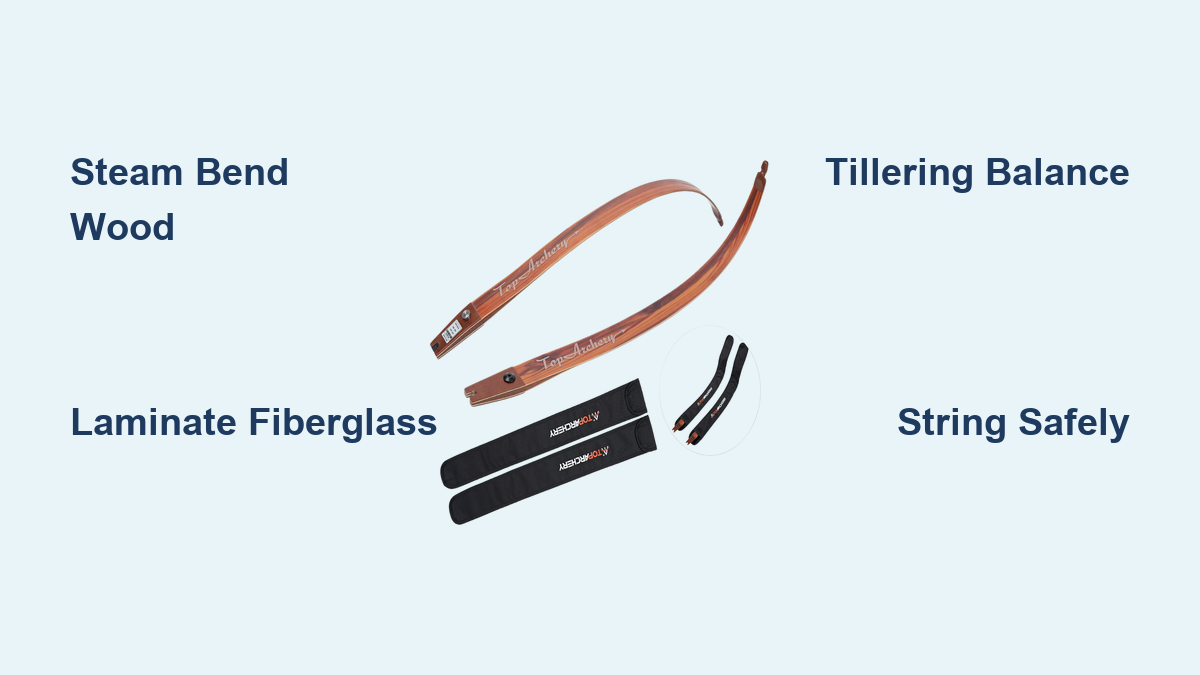
Steam Bend Wood for Permanent Recurve Curves
Steam bending is the most reliable method for creating lasting recurve tips that will not straighten when the bow is strung. This technique uses heat and moisture to soften wood fibers, allowing them to be set into a new shape.
Build an Effective Steam Box
Construct a simple steam box using a 4-foot PVC pipe or metal tube with a cap on one end. Attach a hose from a pot of boiling water to feed steam into the chamber. The general rule is 1 hour of steam time per inch of wood thickness.
Bend Wood Over a Recurve Form
Heat only the limb tips (last 6 to 8 inches) in the steam box. Transfer quickly to your recurve form, clamp securely, and let cool completely for 12 or more hours. This extended cooling time allows the wood fibers to set in the new position, minimizing springback.
Pro Tip: Soak dry woods like oak or ipe in water for 24 hours before steaming to reduce the risk of cracking during bending.
When to Use Dry Heat Instead
A heat gun can work for woods with moisture content above 10%, but carries higher risk of scorching or cracking. Dry heat often results in significant springback, so steam bending remains the preferred method for permanent recurve set.
Construct a Reliable Recurve Form
A well-built form holds your wood in the correct shape during bending or glue-up, ensuring symmetry between both limbs. Forms are essential for repeatable results, especially when laminating multiple layers.
Build a Simple Reflex-Deflex Form
Cut two plywood end pieces to match your desired recurve curve. Attach them to a 2×4 base, then add center blocks to create deflex in the handle area. Use clamps or inner tubes to apply even pressure across the entire form.
Create a Lamination Form for Fiberglass Bows
For wood-fiberglass composites, stack four half-inch plywood layers and route the edges flush using a template. Drill an index pin hole for precise alignment during assembly. This form applies even pressure across the entire limb surface, producing better results than traditional clamps.
Laminate Wood and Fiberglass for Maximum Strength
Laminating wood with fiberglass (commonly Bo-Tuff) adds tensile strength, protects the wood from moisture, and allows for more aggressive recurve profiles without risk of limb failure.
Gather Your Lamination Materials
You will need wood laminations (32 inches long, tapered from 3/8 inch at the riser to 1/8 inch at the tips), Bo-Tuff fiberglass (32-inch bottom piece and 64-inch top piece), slow-set epoxy, heat-resistant masking tape, and a fire hose with a bicycle pump for clamping.
Complete the Lamination Process
First, pre-bake wood and riser in a heat box at 150°F for 30 minutes to remove surface moisture. Next, coat the rough side of the bottom fiberglass and both sides of wood strips with epoxy. Assemble in pairs on wax paper, then place on your form. Add the riser, top wood strips, and a metal pressure strip. Lay a deflated fire hose over the assembly, bolt the top form in place, wrap with filament tape, and inflate the hose to 60 psi using a bicycle pump. Cure in a heat box at 150°F for 4 hours, then cool overnight before disassembly.
Safety Note: Wear gloves when removing cured limbs. Epoxy edges can be razor-sharp and cause serious cuts.
Shape and Trim Your Recurve Limbs
After lamination or bending, limbs require precise shaping to reach their final dimensions and achieve proper string alignment.
Cut to Final Length and Shape Tips
Use a bandsaw with a carbide-tipped blade to cut just past your template line, then sand to final shape. Create a paper template aligned with the centerline, bandsaw the rough outline, and finish with a drum sander for smooth curves.
Cut String Grooves Properly
Use a triangular file to start the string grooves, then refine with a rat-tail or chainsaw sharpening file. Angle grooves at approximately 70 degrees and ensure both limbs match exactly. Grooves should hold the string without slipping but not cut into it during use.
Add Tip Overlays for Protection
Tip overlays prevent fraying and extend string life by protecting the vulnerable end grain from wear and moisture damage.
Apply Fiberglass or Hardwood Overlays
Cut thin fiberglass or hardwood pieces to fit your limb tips precisely. Epoxy them in place, clamp overnight, then sand flush with the limb edges. These overlays create a durable surface that withstands repeated string contact.
Tillering Your Recurve Bow Limbs
Tillering is the process of balancing both limbs so they bend equally under draw weight. Proper tillering ensures accuracy and prevents one limb from taking more stress than the other.
Use a Tillering Rack Effectively
String the bow using a bow stringer and hang it on your rack. Pull the string in 5-pound increments using a tiller stick, checking that both limbs bend equally. Sight down the limbs to detect any twist or uneven flex.
Adjust Limb Stiffness
Lightly sand the belly (side facing you) to reduce stiffness, or sand the back (outer side) to increase flexibility. Remove material in tiny amounts (1/64 inch at a time) and retest after each adjustment.
Pro Tip: Apply chalk to the limbs before flexing. Cracks or stress lines will show up early on the chalk surface, allowing you to catch problems before they worsen.
String Your Recurve Bow Safely
Never string a recurve bow by hand. The stored energy in the curved limbs can cause serious injury if the string snaps or slips.
Use a Bow Stringer Correctly
Place the large loop over the top limb and slide down toward the riser. Hook the small loop into the bottom tip groove. Place the saddle over the top loop, step on the stringer cord, and pull the bow up. Slide the top string into its groove, then remove the stringer.
Apply Final Finish to Protect Your Limbs
A proper finish protects against moisture and UV damage, which is especially critical for wood-fiberglass composites that can delaminate if exposed to water.
Sand and Seal the Completed Bow
Sand fiberglass surfaces from 120 to 400 grit and wood from 80 to 220 grit, removing all tape before sanding. Suspend the bow from wire through the string grooves and spray 3 to 4 light coats of urethane varnish. Sand lightly between coats with 320 grit and let cure 24 hours between applications.
Troubleshoot Common Recurve Limb Problems
Even experienced bowyers encounter issues when learning how to make recurve bow limbs. Understanding the causes helps you fix problems quickly.
Recurve Tips Straighten After Stringing
This occurs when the wood has not been set properly during bending. Use steam instead of dry heat, extend your clamping time to 24 hours or more, or switch to a laminated fiberglass construction for more permanent set.
Limb Twist During Tillering
Twist usually results from uneven pressure during lamination or grain runout in the wood. Lightly sand the high edge of the twisted limb and continue tillering carefully to correct the problem.
Cracking During Bending
Cracking happens when wood is too dry or heated too quickly. Steam condition your wood thoroughly and avoid direct flame or excessive heat gun temperatures.
Springback After Removing Clamps
Inadequate cooling time causes wood to return toward its original shape. Cool under clamp for at least 12 hours and consider extending steam time for dense hardwoods.
Frequently Asked Questions About Making Recurve Bow Limbs
What is the best wood for making recurve bow limbs?
Hard maple and hickory are the best wood choices for recurve bow limbs. Maple offers excellent energy storage and flexibility, while hickory provides strong bending resistance. Osage orange and bamboo are also excellent alternatives for specific builds.
How long does it take to make recurve bow limbs?
The complete process takes 2 to 4 weeks for a first-time builder, including drying time between steps. Steam bending requires 1 to 2 days, lamination curing takes 1 day, and tillering can span several days of incremental adjustments.
Can I make recurve bow limbs without a steam box?
You can use a heat gun for dry bending, but this method carries higher risks of cracking and springback. A simple steam box from PVC pipe and a pot of boiling water is inexpensive and produces much better results for permanent recurve set.
What draw weight should I start with for my first recurve bow?
Beginners should start with 15 to 25 pounds draw weight. Children should use 10 to 15 pounds, while adults with developed back muscles can start at 18 to 30 pounds. Starting with high draw weights like 60 pounds as a first project leads to poor results and potential injury.
Why do my recurve tips straighten when I string the bow?
This happens when the wood has not been set properly during bending. Steam bending with full cooling time, extending clamping duration to 24 hours, or switching to laminated fiberglass construction will create permanent recurve that holds its shape when strung.
Key Takeaways for Making Recurve Bow Limbs

Creating recurve bow limbs is challenging but deeply rewarding. With the right materials, tools, and techniques, you can craft a high-performance bow that reflects your skill and vision. Focus on selecting quarter-sawn maple or hickory with straight grain, use steam bending for permanent recurve set, and take your time during the tillering process to achieve balanced limb flex. Whether you choose solid wood or modern wood-fiberglass composites, each step brings you closer to a functional, beautiful piece of archery craftsmanship. Your first recurve may not be perfect, but the skills you develop will make each subsequent build better than the last.


