
How to Install Bow String Silencers: Quick Steps
If your bow makes a loud twang every time you shoot, you’re not alone, and more importantly, it’s fixable. Installing bow string silencers is one of the simplest, most effective upgrades you can make to reduce noise, dampen vibration, and improve shot consistency. Whether you’re a traditional archer using a recurve or longbow, or a hunter seeking stealth, how to install bow string silencers correctly can transform your shooting experience.
These small accessories tuck into or tie onto your bowstring and absorb excess energy that would otherwise rattle through your limbs and scare off game. Most silencers cut just 1 to 5 FPS from arrow speed, a negligible trade for the gains in quietness and comfort. This guide walks you through every step, tool, and pro tip so you can install silencers with confidence and get the best performance from your bow.
Choose the Right Silencer Type for Your Bow
Before picking up tools, decide which type of silencer fits your bow and needs. Each has distinct installation steps and performance traits that matter for your specific setup.
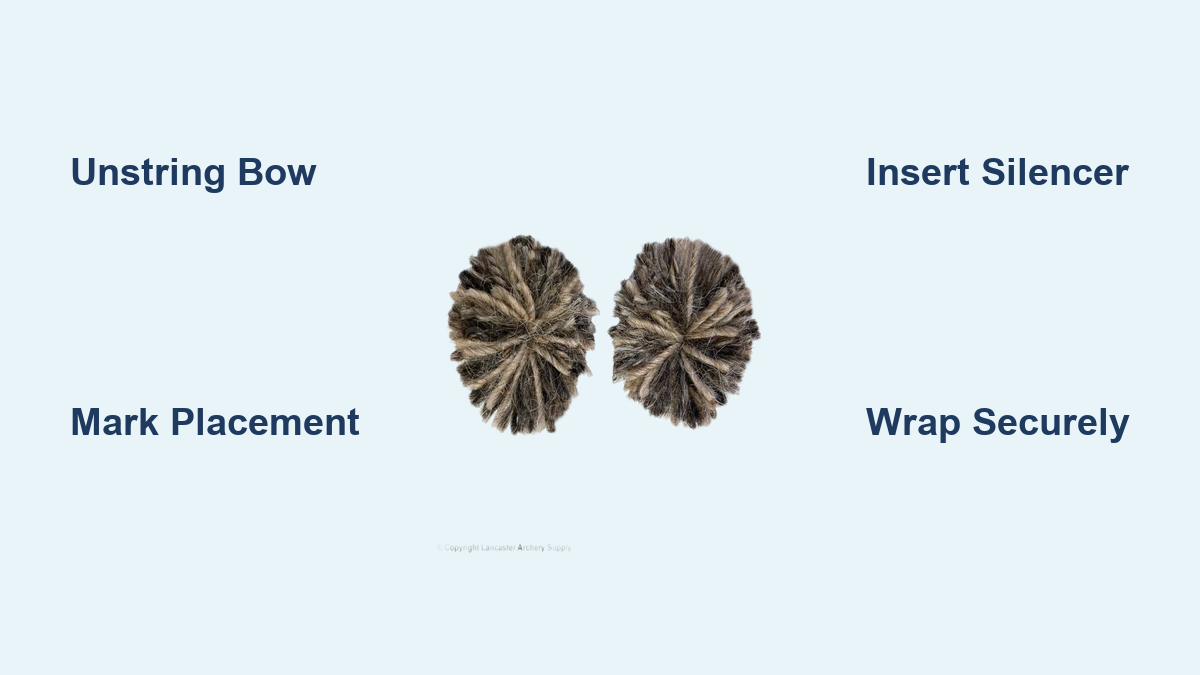
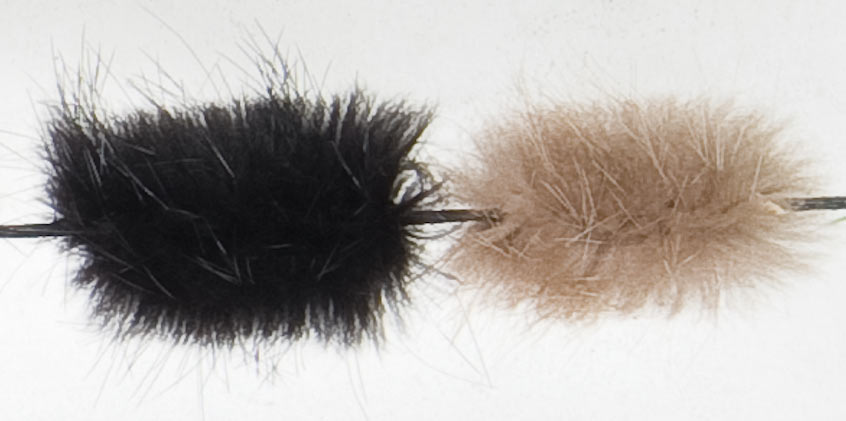
Fur-Based Silencers
Natural fur silencers like beaver, otter, or rabbit are top choices for traditional archers. They deliver excellent noise reduction and vibration control, especially on wooden or laminated recurves prone to riser stress. Once installed, the fibers puff up into a soft appearance that absorbs sound on release.
Beaver silencers offer the most common and balanced performance. Otter silencers provide superior dampening and water resistance, making them ideal for wet climates. Rabbit silencers are budget-friendly with moderate effectiveness. Synthetic options like Autofur deliver consistent performance with low maintenance.
Shaving the base of the fur strip before inserting helps grip the string better and prevents slippage during use.
Rubber Strand Silencers
These bundles of thin rubber strands tie directly to the string. They are easy to install and remove, popular on compound bows but work on traditional strings too. They weigh roughly 5 to 8 grains and require no splitting of string fibers. They are less effective than fur but great for quick fixes and temporary setups.
Folded Fabric Silencers
Brands like October Mountain Products use folded synthetic strips secured with waxed string. They are reusable and customizable, ideal if you switch between hunting and target setups. They tie on rather than permanent installation and can be repositioned, but they require careful knotting to stay secure.
Molded Rubber Silencers
Solid rubber units slide between string strands. They are simple to install but work best on bows with easily separable fibers. Insert while the bow is unstrung, then restring to lock in place. Replace every 1 to 2 years due to material fatigue.
Gather Required Tools and Materials

You do not need a full workshop. Just a few key items based on your silencer type will get the job done right.
Universal Tools
Bowstring wax protects fibers and improves grip. Apply it before and after installation. A tape measure or ruler ensures symmetrical placement. Scissors trim excess material or cut loops. A marker marks exact installation points.
Tools for Fur or Split-String Silencers
A non-sharp string separator opens fibers safely without cutting them. A pencil or string divider holds strands apart during wrapping. Dental floss adds extra security at entry and exit points for high-poundage bows.
Tools for Tied Fabric Silencers
Waxed string or serving thread, at least 24 inches per silencer, secures the wrap. Dry thread slips under tension, so always choose waxed. A finger or soft tool tightens knots without crushing fibers.
Tools for Professional Installations
A bow vise or jig stabilizes the bow for precision work. A serving tool creates permanent, pro-grade installations. Notched pliers help tighten wraps without damaging material.
Always use a bow stringer when unstringing or restringing. Never twist down a recurve by hand.
Find the Correct Installation Location
Where you place silencers affects balance, noise level, and overall performance. Getting this right matters as much as the installation itself.
Standard Placement Guidelines
Install 7 to 10 inches from the loop ends. The top silencer goes 7 to 10 inches below the top nock loop. The bottom silencer goes 7 to 10 inches above the bottom nock loop. Alternatively, position silencers midway between the center serving and each limb tip.
Why Symmetry Matters
Both silencers must be equidistant from their respective loops. Asymmetry causes imbalance, increases vibration, and may affect arrow flight. Always measure twice before installing.
Identifying String Center
Two-tone strings use the color change as a reference point. Flemish twist strings have a splice point that marks the center. Endless loop strings require visual estimation or marking during stringing.
Using a T-square or alignment gauge provides precise marking, especially on high-poundage bows.
Install Fur-Based Silencers Step by Step
Fur-based silencers like beaver, otter, or rabbit deliver maximum dampening for traditional bows. Follow these steps for proper installation.
Prepare the Silencer
Remove the silencer from packaging and gently fluff the fur with your fingers. Packaging compresses the fibers, and fluffing restores the loft needed for performance. If using natural fur, consider shaving the base half an inch to improve grip inside the string.
Unstring the Bow
Use a bow stringer to safely unstring your bow. This reduces tension and makes it easier and safer to split the string. Skip this only if you are experienced and using a low-poundage bow.
Wax the String
Apply bowstring wax to the area where you will install the silencer, typically 7 to 10 inches from the loop. Wax protects fibers and improves retention.
Mark the Installation Point
Measure 7 to 8 inches from the top loop and mark with a pen. Repeat on the bottom string. Use a ruler for accuracy.
Separate String Fibers
Use a non-sharp tool like a plastic pick or dull awl to gently pry open the two main fiber bundles. Insert a pencil or divider to keep them apart.
Insert the First End
Slide one end of the silencer half to 1 inch into the gap. Make sure the fibers face outward, as this maximizes sound absorption.
Wrap in the Barberpole Pattern
Wrap the silencer in the direction of the string natural twist, like a spiral. This harmonizes with the string structure and improves retention. Wrap tightly for 2 to 4 inches, maintaining even tension. Leave a 1-inch tail for tucking.
Wrapping with the twist prevents loosening under draw.
Tuck the Tag End
Use the separator tool to reopen the fibers at the bottom of the wrap. Push the free end back into the string core. Some archers twist the end slightly to form a small ball for better grip.
Close and Secure
Remove the divider so the fibers naturally clamp shut. Confirm both ends are fully buried and cannot slip out.
Add Optional Dental Floss Lock
For high-poundage bows over 50 pounds, wrap a small piece of dental floss around the entry and exit points. Tie snugly to prevent slippage during aggressive shooting.
Restring and Test
Carefully restring the bow using a stringer. Then shoot 3 to 5 arrows to settle the silencer and fluff the fur into its final shape. If the silencer looks messy at first, do not worry. Shooting activates the fibers.
Install Folded Fabric Silencers Properly
Folded fabric silencers like those from October Mountain Products work well for reusable, non-permanent setups. Here is how to install them correctly.
Prepare the Tying String
Cut 24 inches of waxed string per silencer. Never use dry thread because it slips under tension.
Mark Placement
Locate 7 to 10 inches from the loop end on both strings. Mark clearly with a pen.
Fold and Position the Silencer
Fold the silencer in half, then in half again to form a compact square. Place it around the string at the marked spot.
Create a Temporary Loop
Loop the waxed string around the bowstring and tie a loose overhand knot to hold everything in place.
Begin Tightening
Hold the silencer with one finger and pull both ends of the waxed string to tighten the knot. Go slowly and do not rush.
Reinforce with Wraps
If the knot slips, wrap the string under and over the silencer multiple times to build compression and friction.
Finalize with Secure Knots
Tie a double knot, which is two half-hitches, on one side. Pull as tight as possible by hand. Never use pliers, which can crush fibers.
Trim and Release
Cut excess string close to the knot. Locate the small connecting loops at each end of the folded silencer. Cut through all layers of each loop while holding the silencer to prevent unwinding. Gently pluck and stretch the freed ends to expand the silencer.
Install Rubber or Molded Silencers Quickly
Rubber or molded silencers like tarantula-style units are fast and simple, great for beginners.
Unstring the Bow
Relieve tension to allow easy insertion between string fibers.
Separate String Fibers
Use fingers or a dull tool to open a gap at 7 to 10 inches from the loop.
Slide the Silencer In
Insert the rubber body between the separated strands. Center it and ensure it sits upright.
Restring the Bow
Tension from restringing locks the silencer in place. No knots or wrapping are needed.
Test and Inspect
Shoot several arrows to confirm stability. Check monthly for cracks or movement. Replace rubber silencers every 1 to 2 years with regular use.
Advanced Installation for High-Poundage Bows

For bows over 50 pounds, use this two-stage method to ensure perfect adhesion under extreme tension.
Initial Wrap While Unstrung
Install the silencer loosely while the bow is unstrung. This gives you room to work without fighting string tension.
String and Observe
Apply full tension. Watch where the silencer naturally compresses or shifts. Note the settled position.
Unstring and Re-Wrap
Take the bow down and re-wrap at the exact position where it settled under full tension. Insert the tag end securely into the string core.
Finalize and Shoot
Restring and fire 3 to 5 arrows to complete settling. The silencer stays put even under aggressive shooting.
Fix Common Installation Problems
Even with careful work, issues can arise. Here is how to fix them fast.
Silencer Falls Out
Loose wrapping, shallow insertion, or skipping wax causes this problem. Reinstall with a tighter wrap, fully tuck both ends, and use waxed string for better grip.
Silencer Does Not Puff Up
Installed backward or compressed fibers prevent proper fluffing. Reverse the direction, pluck the string repeatedly, and shoot 5 arrows to activate the fur.
Uneven Noise or Vibration
Asymmetrical placement causes this issue. Re-measure and ensure both silencers are equal distance from their loops.
String Fraying
Sharp tools or abrasive knots damage fibers. Use non-sharp tools only and smooth serving material to avoid metal-on-fiber contact.
Silencer Rotates or Slips
Not fully buried in the core allows movement. Reopen fibers and push both ends deep into the string center.
Cannot Insert Tag End
High tension prevents fiber separation. Always install while the bow is unstrung.
Pro Tips for Long-Lasting Performance
Maximize Retention
Wrap in the direction of the string twist. Use dental floss on entry and exit points for high-poundage bows. Wax the string before and after installation.
Maintain Your Silencers
Fur types need occasional plucking or shooting to restore puff if flattened. Tied types need monthly knot checks. Rubber types need replacement every 1 to 2 years.
Optimize for Conditions
Wet environments call for otter fur or synthetic silencers. Dry climates work well with beaver or rabbit. Humid areas need regular waxing to prevent moisture absorption.
Understand the Aesthetic Process
Initial look may seem messy, and this is normal. Shooting 3 to 5 arrows fluffs and aligns the silencer. Trimming length is acceptable for custom fit.
Frequently Asked Questions About Bow String Silencers
What is the best type of bow string silencer for hunting?
Fur-based silencers like beaver or otter offer the best noise reduction for hunting. Otter provides superior moisture resistance, making it ideal for wet conditions. The minimal speed loss of 1 to 5 FPS is worth the stealth gain.
Do bow string silencers affect arrow speed significantly?
Most silencers reduce arrow speed by only 1 to 5 feet per second. This negligible trade-off delivers substantial benefits in noise reduction and vibration dampening that most archers find worthwhile.
How far from the bowstring loops should silencers be installed?
Install silencers 7 to 10 inches from the loop ends. Both silencers must be equidistant from their respective loops for proper balance and performance.
Can I install silencers on a compound bow?
Yes, rubber strand silencers and molded silencers work well on compound bows. Fur-based silencers require a split-string construction, which some compound strings may not have.
How often should I replace rubber bow string silencers?
Replace rubber silencers every 1 to 2 years with regular use. Check monthly for cracks, hardening, or movement. UV exposure and repeated flexing degrade rubber over time.
Do I need to unstring my bow to install silencers?
Yes, unstringing the bow is recommended for most installations. It reduces tension, making fiber separation easier and safer. High-poundage bows especially benefit from this approach.
Key Takeaways for Installing Bow String Silencers
Installing bow string silencers is a one-time investment that pays off in silence, comfort, and equipment longevity. Choose your silencer type based on your bow style, hunting needs, and climate conditions. Fur-based options deliver maximum dampening for traditional recurves, while rubber options offer quick installation for compounds.
Always unstring the bow before installation and use non-sharp tools to avoid fiber damage. Wax the string before and after the process for better retention. Measure carefully and ensure symmetry between top and bottom silencers. Shoot 3 to 5 arrows post-installation to activate fur silencers and confirm everything stays secure.
Whether you choose beaver fur for maximum quiet, rubber for convenience, or fabric for flexibility, proper installation unlocks full performance. These are not just accessories. They are essential components for any serious archer seeking stealth and improved shot feel. Be safe, shoot straight, and keep your bow whisper-quiet.


