
How to Install Finger Savers on Bow String
If you’re introducing a young archer or beginner to the sport, string pinch and finger discomfort can quickly turn a fun experience into frustration. That’s where finger savers come in small rubber attachments that protect fingers from the bowstring’s bite during draw and release. Designed for youth, beginners, and recreational programs, these accessories simplify shooting by eliminating the need for finger tabs. Whether you’re using a Genesis, Hoyt Nexus, or another youth recurve, this guide walks you through every step so you can install finger savers with confidence.
Choose the Right Finger Saver Type for Your Bow

Finger savers aren’t one-size-fits-all. The two most common types are split-ring rubber blocks with cotter pins and pin-based systems like Cartel Maxion. Cotter pin models are standard on Genesis Original bows, Hoyt Nexus, and many school archery programs. Pin-based savers snap directly onto the string loop without threading, making them ideal for quick setup in club environments.
Most setups use two savers: a small single-finger unit on top and a larger two-finger one below. This mirrors natural finger placement and creates a stable cradle for the arrow nock. Always ensure the flat side faces the shooter and the rounded side faces forward to prevent pinching. While many finger savers are universal, confirm fit with your bow’s end serving size.
Gather Essential Installation Tools
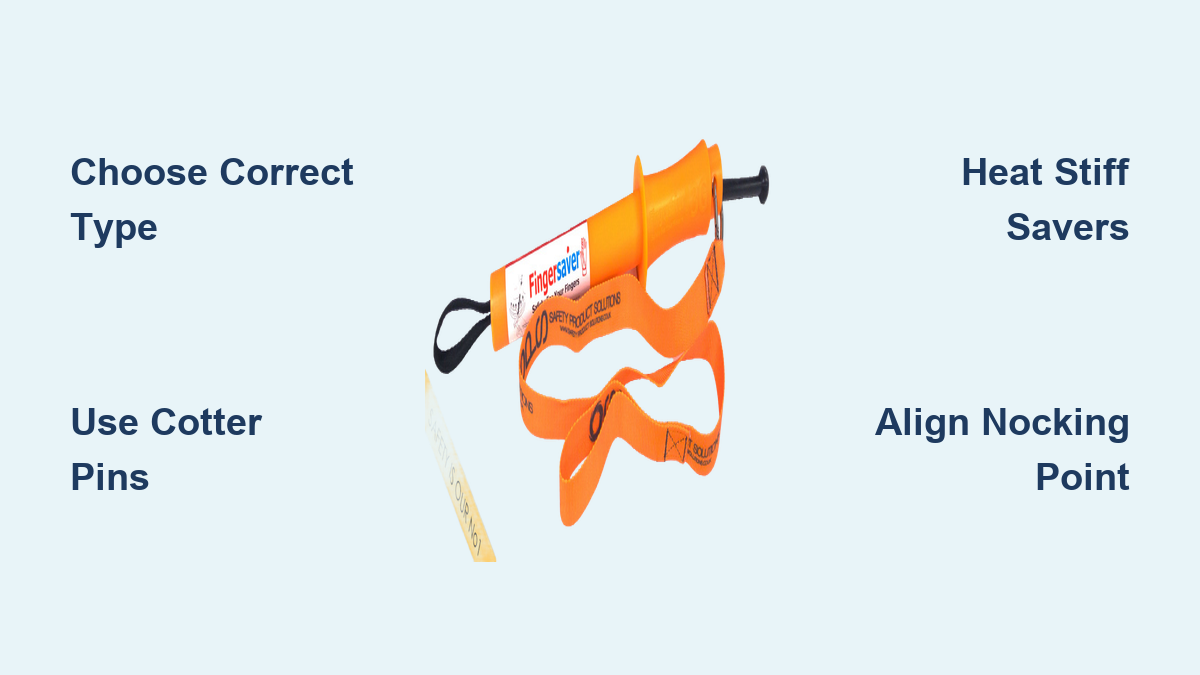
Before starting, gather these basic items. You’ll need finger savers (top and bottom), cotter pins or bobby pins if not included, needle-nose pliers for pulling pins through tight loops, string wax to reduce friction during installation, a bubble level to verify vertical string alignment, and an arrow with nock point indicator to help position the arrow correctly.
Pro Tip: Bobby pins work perfectly as substitutes for cotter pins and are easier to find. Just clip the ball end off one side for smoother insertion. Optional but helpful items include boiling water or a radiant heater to soften stiff rubber, serving thread and darning needle for the pull-through method, and insulating gloves when handling heated savers.
Install Finger Savers Using Cotter Pins
Start at the top limb tip. Unstring the bow or reduce tension if possible. Insert a short cotter pin fully into the end serving of the top string loop. Use pliers to grip the pin and pull it through the gap in the small finger saver. Slide the saver down the string toward center, stopping just above the nocking point.
Visual Cue: The flat surface of the saver should face you; the rounded side should point toward the target. Repeat on the bottom limb using a larger cotter pin for the two-finger saver. Slide it up until it meets the top saver near the center serving. Ensure both pins are fully seated and the savers are snug against the center serving to prevent rotation and keep the nocking zone stable.
Use the Cartel Maxion Pin System

For bows using the Cartel Maxion system, skip the cotter pins. Take the supplied metal pin and slot it around the top string loop. Then insert it into the single-finger saver. No tools are required just hand pressure. Repeat on the bottom loop with the two-finger saver and align both so they form a V-shaped cradle for the arrow nock.
This system is ideal for high-turnover programs where quick, tool-free setup matters. It avoids string modifications and is less likely to cause twist or slippage compared to cotter pin methods.
Handle Stiff Savers With Heat or Wax
If the saver won’t fit over the pin or through the loop, heat it. Submerge the rubber piece in hot not boiling water for 4-5 minutes. Use insulating gloves to remove it and install immediately. The softened rubber will slide on easily.
Alternatively, hold the saver with pliers and expose it to a radiant heater until pliable. Do not melt or burn the material. Work quickly before it cools. Even without heat, heavy waxing of the cotter pin and string loop reduces friction significantly.
Use the Pull-Through Method for Tight Strings
When the end serving is too tight for direct pin insertion, use a serving thread and darning needle. Thread the needle, pass it through the top string loop, and tie a knot to create a temporary loop. Slide the top finger saver onto the needle, then onto the serving thread. Anchor the free end of the thread under your shoed foot or around a bench vise.
Safety Note: Never use bare feet anchor securely to prevent injury. Pull steadily to draw the saver onto the string. Follow the same process on the lower limb. This method is especially useful for stiff rubber or tightly served strings and is trusted by coaches setting up multiple beginner bows.
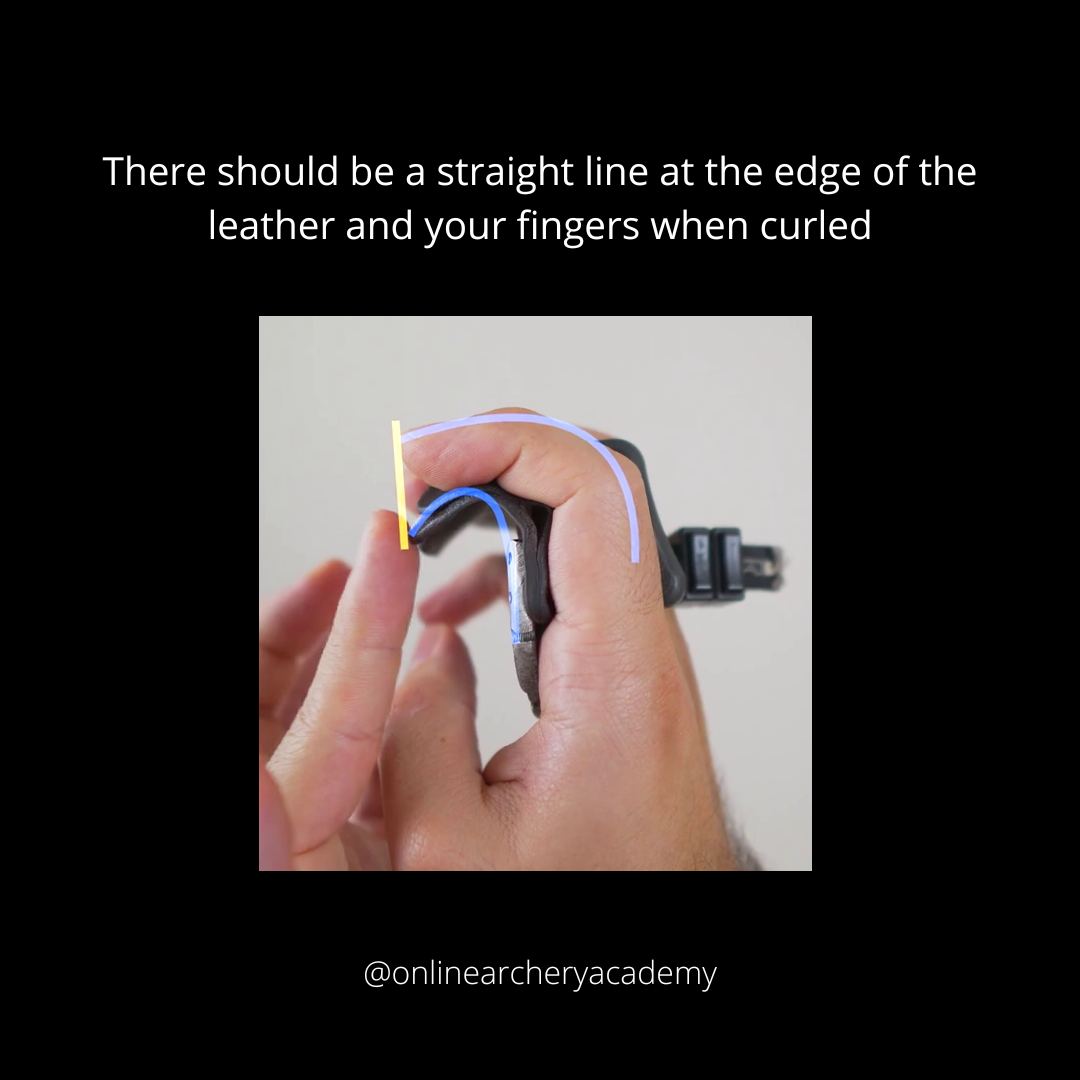
Align Savers for Proper Shooting
After installation, check that the string runs perfectly vertical. Place a bubble level on the string above the riser. If it’s off-center, adjust the limb bolts slightly to re-center the string in the riser window. Place an arrow between the two savers and use a nock point indicator to mark the correct height. Slide it up or down until the arrow is level.
For younger archers, raise the nock point slightly (1/8″ to 1/4″) to accommodate shorter draw lengths. Leave a narrow gap between the top and bottom savers so the arrow nock fits snugly without pinching. Some archers add four nock points: one at each end of the savers and two inside the gap for extra stability.
Troubleshoot Common Installation Issues
Saver won’t fit through the loop. The rubber is too stiff or serving is too tight. Heat the saver or apply string wax. Use the pull-through method if needed.
Saver rotates or slips. The pin isn’t fully seated or rubber is worn out. Push the pin completely into the serving. Replace saver if cracked or loose.
Pin won’t go through serving. The serving is dense or pin is too thick. Use a thinner pin like a bobby pin or gently widen the gap in the saver.
Arrow nock gets pinched. Savers are too close together or misaligned. Adjust spacing and ensure both savers face the correct direction.
String not level. Asymmetric tension or limb misalignment. Recheck with bubble level and adjust limb bolts evenly.
Follow NAPS Rules and Safety Standards
Finger savers are permitted in the National Archery in the Schools Program (NAPS) and are even recommended for L1 and L2 certification tests. They’re considered the preferred finger protection for new archers who struggle with tabs.
Coaching Insight: If it keeps them shooting comfortably and safely, by all means use them. While generally allowed, always check the latest NAPS guidelines before competition. Avoid modifications that could violate rules, such as oversized savers or non-standard attachments.
Maintain and Replace Finger Savers
Check finger savers before each use for cracks or brittleness in the rubber, pin security (ensure cotter pins haven’t backed out), rotation or slippage on the string, and string twist caused by uneven mass. Even durable savers degrade over time. Replace them if they no longer stay in place, the arrow nock binds or jumps, or the rubber feels stiff or cracked.
To uninstall, use pliers to pull out the cotter pins and slide the savers off. Reuse pins if undamaged, or replace with new ones.
Transition to Finger Tabs Over Time
Finger savers are not a permanent solution. As archers develop strength and dexterity, switch to a finger tab for better accuracy and consistency. Your competitive kids aren’t gonna need them.
Once the archer can comfortably hold the string and maintain a consistent anchor point, introduce a basic tab. This prepares them for more advanced shooting and competition.
Key Takeaways for Installing Finger Savers
Finger savers are more than just comfort tools. They’re accessibility enablers that keep beginners in the sport. When installed correctly, they reduce pain, prevent frustration, and support early learning. Pick the right method (cotter pin, pin-based, or pull-through) based on your bow and saver type. Use heat or wax to install stiff savers. Align savers vertically and level the string. Position the nock point correctly, slightly higher for young archers. Inspect regularly for wear, slippage, or damage. Replace savers when cracked or loose. Transition to tabs as skill improves.
Frequently Asked Questions About Installing Finger Savers
What are finger savers used for on a bow?
Finger savers are soft rubber accessories that protect an archer’s fingers from string pinch and friction during the draw and release. They’re designed primarily for beginners, youth archers, and recreational shooters who may struggle with traditional finger tabs.
Can finger savers be used in NAPS competitions?
Yes, finger savers are allowed under current NAPS (National Archery in the Schools Program) rules. They’re actually recommended for beginner youth archers and may be used in L1 and L2 certification tests as the preferred method of finger protection.
How do I install finger savers without breaking them?
Use heat or wax to soften stiff rubber before installation. Submerge in hot (not boiling) water for 4-5 minutes, or apply string wax generously to the cotter pins and string loop. This prevents cracking and makes installation much easier.
Why do my finger savers keep rotating on the string?
This happens when the cotter pin isn’t fully seated or the rubber has worn out. Push the pin completely into the serving until it’s snug against the center serving. If the rubber is worn or cracked, replace the saver entirely.
When should I switch from finger savers to a finger tab?
Transition to a finger tab once the archer develops sufficient hand strength and dexterity to maintain consistent anchor points. This typically happens as they progress beyond beginner level and begin competing or seeking better accuracy.


