
How to Install Kisser Button on Bow
Installing a kisser button on your bow is one of the most effective ways to improve shooting consistency and accuracy. This small but powerful accessory provides a tactile anchor point that touches the corner of your mouth at full draw, ensuring your head position, eye alignment, draw length, and form stay identical from shot to shot. Whether you are a bowhunter relying on instinct in low light or a competitive archer chasing tight groupings, a properly installed kisser button can make all the difference.
The process varies slightly depending on your bow type, which is compound or recurve, and the kisser button model you choose. Some slide on easily while others require clamps or serving thread. Regardless of method, precision in placement and secure mechanical retention are non-negotiable. This guide walks you through every step, tool, and tip needed to install your kisser button correctly the first time.
Choose the Right Kisser Button for Your Bow

Selecting the correct kisser button type is the first critical step. The two main categories differ significantly in installation method and intended use.
Slide-On vs. Served/Clamp Models
Slide-on kisser buttons feature a pre-cut slit and are made from soft rubber or flexible plastic. They are ideal for recurve bows or archers who want a quick, tool-free setup. Simply stretch the slit and slide it onto the string. However, even slide-ons require clamps or serving to stay in place. Never rely on friction alone.
Served or clamp-style kissers are standard on compound bows. These lack slits and must be secured with metal crimping sleeves or tightly wrapped serving thread. Served-in models offer a cleaner, lighter look preferred by elite shooters while clamp-mounted versions are faster to install and easier to adjust.
Pro Tip: Rubber or soft polymer buttons reduce lip irritation and grip the string better than hard plastic. Avoid cheap, rigid models.
Measure and Mark the Correct Placement
Accurate placement determines whether your kisser button enhances consistency or creates frustration. Measurement differs based on bow type.
Compound Bows: 1½ Inches Above Nock Point
For compound bows, position the kisser button 1½ inches above the center of the nock point, which is where the arrow nock sits on the string. Alternatively, measure 1 inch above the top of the D-loop. This height ensures the button contacts the dimple of your upper lip or the corner of your mouth when anchored.
Use a bow square for precision. Attach it to the riser and align it with the nocking point, then measure up. Mark the spot with tape or chalk before installing.
Recurve Bows: Below the Nocking Point
On recurve bows, place the kisser 0.5 to 1.25 inches below the nocking point. The exact position depends on your draw length and anchor style. Since recurves lack a peep sight, the kisser serves as the primary tactile reference.
Critical Rule: Always install the kisser button before the peep sight. Adding the peep after prevents string twist and ensures proper component alignment.
Tools Required for Kisser Button Installation
Having the right tools before starting prevents frustration and ensures a secure installation.
For Clamp Installation
You will need your kisser button, two metal clamps, needle-nose pliers or Knievel’s pliers, locking pliers, a bow square or measuring tape, and scissors.
For Serving-In Installation
Gather serving thread, a string serving tool, thread glue or Maxima Super String Wax, and optionally instant adhesive.
Note: Some archers use brass nocks as stops but this adds unnecessary weight and is not standard practice.
Install With Metal Clamps on Compound Bows
This method works best for most compound bow setups and provides reliable, adjustable retention.
Slide Button Into Position
With the bow safely unstrung or under tension, slide the kisser button onto the string at your measured mark, 1½ inches above the nock point. Ensure the solid side faces your lips. Never let the slit touch your skin as it can cause cuts over time.
Draw the bow to full extension using proper form. Check that the button consistently touches your mouth corner and does not interfere with the peep sight view. Adjust the button up or down in 1/8-inch increments until contact feels natural and repeatable.
Secure With Clamps
Slide one metal clamp above and one below the kisser button. Position them snug against the button to prevent movement.
Using needle-nose pliers or Knievel’s pliers, bend each end of the clamp around the string to form a secure loop. Apply even pressure to keep the clamp round. Avoid crushing the string.
For maximum security, use locking pliers to crimp both clamps firmly. Test by trying to twist or slide the button. It should not move.
Expert Insight: This method is simple, reliable, and widely used among compound bow shooters.
Serve-In the Kisser Button for Elite Performance

Serving-in provides a clean, lightweight setup preferred by competitive archers. This method works for buttons without clamp slots.
Prepare the String
Slide the kisser button onto the string at the correct height. Ensure the split side is oriented to allow the string to sit securely within the groove.
Wrap With Serving Thread
Using a string serving tool or manual technique, tightly wrap 6 to 10 turns of serving thread above and below the kisser button. Keep wraps close together and under high tension to lock the button.
Apply thread glue or Maxima wax to the ends to prevent unraveling.
Finish With a Super Knot
Tie off the thread using a super knot, which is stronger and neater than standard knots. Trim excess thread.
The finished assembly should feel solid with no rotation or slippage allowed.
User Note: The lightest kisser buttons often require precise serving installation. Take your time with this method.
Slide-On Installation for Recurve Bows
Recurve bows typically use slide-on kisser buttons for quick setup and removal.
Unstring or Relax the Bow
Slide-on kissers require slack in the string. Safely unstring your recurve or use a bow press if applicable.
Locate the installation zone, which is 0.5 to 1.25 inches below the nocking point.
Stretch and Mount the Button
Open the slit on the kisser button and stretch it over the bowstring. Slide it into position.
Orient the solid side toward your lips. The slit must face away to prevent abrasion.
Lock in Place With Clamps
Even though it is slide-on, you still need two clamps, one above and one below, to secure it permanently.
Use locking pliers to crimp both clamps evenly. Check for movement.
Pine Ridge Archery Note: Our slide-on kissers are designed for comfort and quick setup. The soft plastic will not rip your lip and the design allows easy installation without serving.
Test and Adjust Before Shooting
Never skip testing. Proper verification prevents wasted arrows and frustration.
Perform Dry Draws
Before firing a single arrow, perform 10 to 15 dry draws. Confirm the kisser consistently touches the same spot on your mouth, your peep sight aligns clearly with the front sight pin, there is no cable slap or string interference, and the button does not rotate or slide.
Any inconsistency means recheck placement or clamp tightness.
Adjust for Comfort and Alignment
If contact feels off, loosen clamps and shift the button slightly. Small adjustments can make a big difference.
For new strings, remember that string stretch will change effective draw length over time. Re-evaluate kisser position after 10 to 20 shooting sessions.
Common Mistakes to Avoid
Several errors can undermine your installation and performance.
Never Use Glue Alone
While some archers admit to gluing their kisser directly, experts warn that glue fails under tension. A flying kisser poses a safety risk and ruins consistency. It will pop off and go somewhere you do not want it.
Always use mechanical retention, which means clamps or serving.
Do Not Let the Slit Touch Your Lips
A recurring issue is lip cuts from improper orientation. Always face the solid side toward your mouth.
Do Not Install After the Peep Sight
Sequence matters. Install the kisser first, then the peep sight. This avoids twisting the string and ensures both components align at full draw.
Troubleshooting Installation Issues
Know how to address common problems when they arise.
Kisser Rotates or Slides
The cause is loose clamps or unserved installation. Reinstall with tighter crimps or switch to the served-in method.
Lip Irritation
The cause is slit facing mouth. Reposition so solid side contacts lips.
Peep Sight View Blocked
The cause is kisser too high. Lower the kisser or raise the peep sight.
String Fraying at Clamps
The cause is poorly crimped or sharp-edged clamps. Replace clamps, smooth edges, or serve-in instead.
Inconsistent Anchor
The cause is string stretch or incorrect initial placement. Re-measure and retest dry draw alignment.
Maintain Your Kisser Button
Regular maintenance ensures long-term performance and safety.
Inspect Every 10 to 20 Sessions
Check for clamp loosening, string fraying, button displacement, and wear on the contact surface. Re-tighten clamps or re-serve as needed.
Replace worn components immediately. A loose kisser defeats its purpose.
Pro Tip: After heavy use or exposure to moisture, inspect more frequently. Heat and humidity accelerate material fatigue.
Frequently Asked Questions About Kisser Buttons
What is the ideal kisser button placement for compound bows?
Position the kisser button 1½ inches above the center of the nock point or 1 inch above the top of the D-loop. This ensures consistent contact with the corner of your mouth at full draw.
Can I use glue instead of clamps to install my kisser button?
No. Glue alone is not recommended because it fails under string tension. Always use mechanical retention through metal clamps or serving thread for safety and reliability.
How do I know if my kisser button is positioned correctly?
Perform 10 to 15 dry draws. The button should touch the same spot on your mouth every time while maintaining clear peep sight alignment. If contact varies, adjust the position.
Where does the kisser button go on a recurve bow?
On recurve bows, place the kisser button 0.5 to 1.25 inches below the nocking point. The exact position depends on your draw length and personal anchor style.
Why does my kisser button cause lip irritation?
This usually happens when the slit side faces your mouth. Always orient the solid side toward your lips and the slit away from your mouth.
How often should I inspect my kisser button installation?
Inspect every 10 to 20 shooting sessions and after any heavy use or exposure to moisture. Check for clamp tightness, string wear, and button displacement.
Key Takeaways for Installing Your Kisser Button
A properly installed kisser button is a low-cost, high-impact upgrade that transforms erratic shooting into repeatable precision. Whether you are stalking deer or chasing Xs at 40 yards, this tiny disc delivers big results.
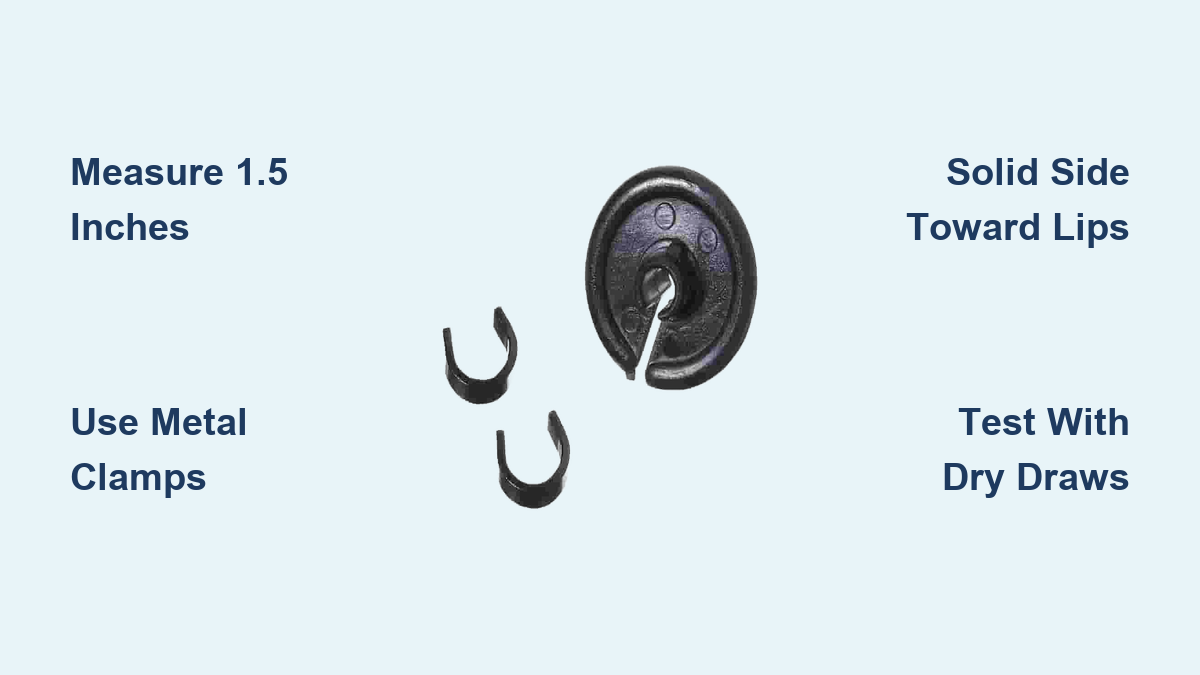
Remember these critical points during installation. Measure precisely using a bow square and install the kisser before the peep sight. Use mechanical retention only, whether clamps or serving, and never rely on glue alone. Face the solid side toward your lips and test repeatedly with dry draws before live shooting. Choose soft rubber or polymer buttons for comfort and inspect regularly for wear. Take your time during installation because accuracy starts with attention to detail.


