
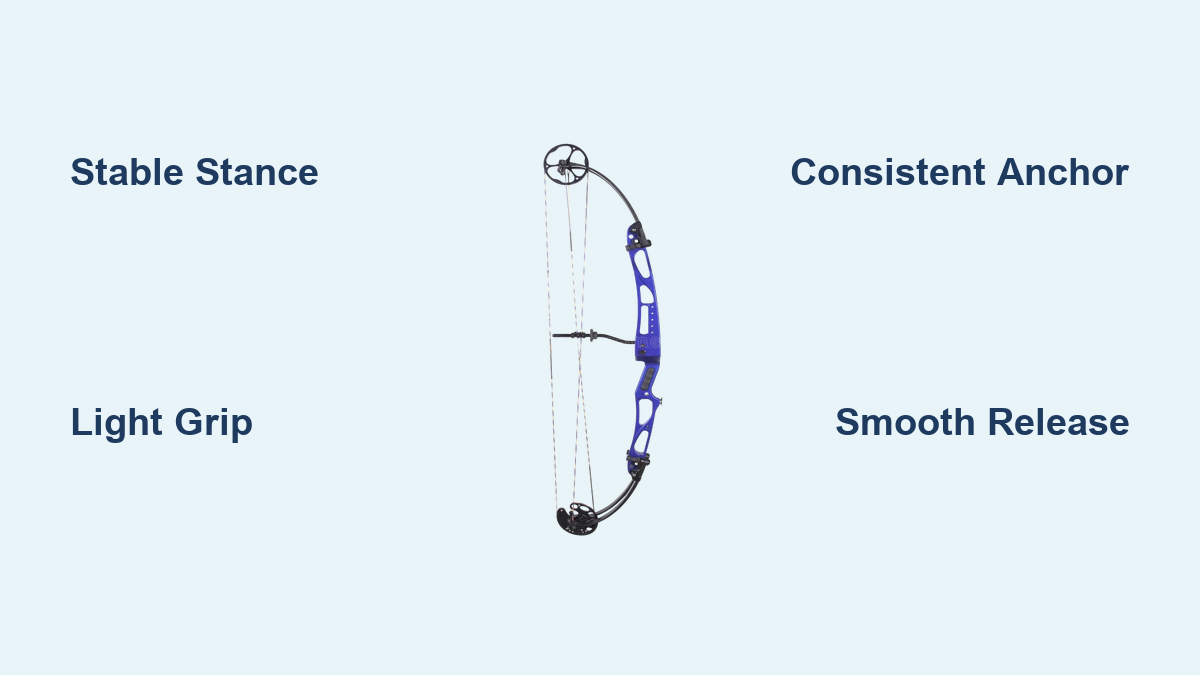
How to Fire a Compound Bow: Quick Steps
Firing a compound bow isn’t just about pulling the string and letting go. It’s a precise, repeatable process that blends equipment setup, biomechanics, and mental focus. Whether you’re a new hunter, 3D competitor, or backyard shooter, mastering how to fire a compound bow correctly means understanding every phase from stance and grip to release and follow-through. This guide breaks down the complete sequence using techniques from elite archers with actionable steps and pro tips to build confidence and accuracy.
You’ll learn not only how to shoot but why each movement matters and how to fix common mistakes before they ruin your shot. Let’s walk through the full process step by step.
Stable Shooting Stance
Your stance is the foundation of every accurate shot. A shaky base leads to inconsistent form, poor alignment, and missed targets even if everything else is perfect.
Feet Shoulder-Width, Toes Slightly Out
Stand with feet shoulder-width apart, perpendicular to the target. Turn your toes slightly outward about 15 to 30 degrees to improve balance and reduce sway during the draw. This position centers your weight and allows your hips and shoulders to rotate naturally into alignment.
Think of your body as a tripod. Your two feet and bow arm form a stable triangle pointing at the target.
Weight Forward, Knees Soft
Distribute weight evenly with a slight bias toward the front foot. This prevents you from leaning back at full draw, which disrupts your anchor and causes poor follow-through. Keep a slight bend in your knees. Locked legs increase tension and reduce shock absorption.
Adapt for Uneven Ground
When shooting on hills or uneven terrain common in hunting, use the 3D shooting stance. Align your back foot with the target line and place your front foot 4 to 6 inches behind the line. This opens your front shoulder, allowing a smooth draw without twisting your torso.
Pro Tip: Trace your ideal foot positions on cardboard and use it as a training template. With daily use, muscle memory develops in about a month.
Proper Bow Grip Technique

How you hold the bow determines accuracy more than most realize. A bad grip introduces torque, causing arrows to fly left or right even with perfect aim.
Hand in Stop Position
Form a stop gesture with your bow hand. Palm forward, thumb at 45 degrees. Let the bow rest between the heel of your palm and the base of your index finger. Do not wrap your fingers tightly. Your hand should support the bow passively, not grip it.
Don’t grab the bow like a hammer.
Favor the Thumb Side
Elite shooters recommend placing slightly more pressure on the thumb side of the grip. This reduces reliance on the fleshy part of the palm, which can shift shot to shot and cause inconsistency.
Let the Bow Fall Naturally
After release, do not catch or jerk the bow. Allow it to fall forward freely. This is a sign of a relaxed, torque-free release. If you instinctively grab the bow, you’re likely gripping too hard during the shot.
Warning: White knuckles or sore hands mean you’re death-gripping. This is a fast track to poor groups and string slap.
Nock Arrow and Attach Release
Before drawing, ensure your arrow and release aid are correctly set.
Snap Arrow Straight Onto String
Nock the arrow straight back with no twisting. The index vane, which is the odd-colored fletching, should face away from the riser on most drop-away rests. Misalignment causes erratic flight.
Clip Release to D-Loop
Attach your mechanical release aid to the D-loop, not the string itself. This protects the string from wear, ensures consistent release point, and improves accuracy over time.
Visual Check: The arrow should sit level on the rest with the nock snug against the string.
Smooth Draw with High Elbow
The draw cycle sets up your entire shot. A jerky or uneven draw leads to poor alignment and shaky aim.
Raise Both Arms Together
Start by raising your bow arm and drawing arm simultaneously toward the target. Keep your bow arm straight but not locked. Imagine closing a barn door. Smooth and controlled, not yanking like a lawnmower.
Use Back Muscles, Not Arm
Pull with your back muscles, specifically the lats and upper back, not your drawing arm. The key is high-elbow form. Raise your drawing elbow high during the draw, drive it down and back at full draw, and simultaneously push forward with your bow hand. This push-pull motion stabilizes the bow and reduces shoulder strain, especially important with heavy draw weights of 60 to 70 pounds.
Adjust Draw Weight if Needed
If you’re shrugging your shoulder or struggling to reach full draw, lower the draw weight. A bow set too high causes fatigue and inconsistency. You should be able to draw smoothly after climbing a hill or sitting in a stand.
Ideal Draw Weight: One that allows full draw with minimal strain, even when tired.
Consistent Anchor Points

Anchoring is critical for repeatability. Every shot must end in the exact same position.
Three-Point Anchor System
Elite archers use a three-point anchor system. First, your hand on the jawline. Your release hand touches the same spot every time, such as the corner of your mouth or under your ear. Second, your nose to the string. The tip of your nose touches the string at full draw. Third, peep to pin alignment. Your peep sight lines up perfectly with your front sight.
If your nose doesn’t touch the string, your head position is off.
Additional Facial References
For extra consistency, the string touches the corner of your mouth. Your knuckle and thumb joint touch the bottom of your ear. The fletching aligns with your bottom lip at full draw.
Set Peep Height with Pro Help
Have a technician or experienced archer help set your peep sight height so it aligns naturally with your anchor. Once set, never move it. This is your mechanical reference.
Practice Drill: Draw and anchor at 10 yards 20 times per session until it feels automatic.
Align Body and Bow Properly
Proper alignment ensures energy flows straight from bow to arrow with no sideways wobble.
Straight Line from Grip to Shoulder
Form a straight path from the bow grip through your lead arm and shoulder. Avoid collapsing your front shoulder or bending your bow arm.
Keep Front Shoulder Low
Do not shrug. A high front shoulder disrupts alignment and makes aiming difficult. Think pull down with your back, not up with your arm.
Modern Static Method Over Push-Pull
Elite shooters now use a static hold at full draw. Pull just enough to reach the cam’s back wall, stop all active pushing or pulling, and let the system stabilize. Otherwise it’s too easy to push or pull a little harder from shot to shot.
Aim with Peep and Sight
Aiming is where mechanics meet focus. Perfect form means nothing without precise aim.
Achieve Circle-in-Circle Alignment
Look through the peep sight and center the front sight pin guard inside it. This creates a circle-in-a-circle alignment that blocks distractions and locks in eye position. For maximum precision, center the entire round housing, not just the pin.
Use Correct Sight Type
Single-pin sights are ideal for variable distances, common in hunting. Multi-pin sights use the top pin for 20 yards, the next for 30, and so on.
Add a Level to Prevent Canting
A sight level tells you if the bow is tilted left or right. Even slight canting causes arrow drift at long range.
Focus on Small Targets
Aim at tiny spots such as a knot in wood, a leaf, or an animal’s shoulder triangle. Aim small, miss small. This sharpens focus and improves accuracy even at distance.
Choose and Execute Release Style
Your release method defines your shooting personality. Pick one that fits your purpose.
Command-Style: Punch the Trigger
Best for bowhunting, this method gives you control. Use an index-trigger release, draw, aim, and consciously fire when the pin settles. Your finger rests lightly on the trigger with no anticipation.
Pro Tips from elite instructors include applying 70 percent pull and 30 percent push tension at full draw, visualizing the pin slowing into place, and remembering that punching isn’t bad. It’s actually the only reliable way to shoot for hunting.
Surprise Release
Used in 3D competition for maximum precision. Maintain your aim and gradually squeeze the trigger until the shot fires unexpectedly. No conscious decision to release. Use a thumb or hinge release for smoother, tension-based activation. It should be a surprise every time. Focus on the target, not the pin or trigger.
Back Tension Release
This advanced method uses back muscles to trip the release. Week one involves standing 2 to 3 feet from the target, drawing, closing your eyes, and firing with a back squeeze. Repeat 15 to 20 times daily. Week two extends to 30 to 40 arrows at 15 to 20 yards. Week three extends to 20 to 30 yards with focus on burning the pin into the target.
This method is not recommended for most hunters. It’s best for serious competitors.
Follow Through Completely
Your shot isn’t over until the arrow hits. Poor follow-through ruins even perfect form.
Hold Position Until Impact
Do not drop your bow arm immediately after release. Keep your head still, anchor point intact, and bow arm extended. Wait until you hear or see the arrow hit.
Let the Bow Fall Naturally
After release, allow the bow to fall forward. Don’t force it down. A clean fall indicates a relaxed, consistent release. If you have correct form, proper follow-through is just going to happen.
Warning: If your bow jerks sideways or up, you’re likely flinching or gripping too hard.
Build a Practice Routine
Skill comes from smart, structured practice, not just repetition.
Start at 10 Yards
Begin close to lock in form and anchor. Only move back once you’re grouping tightly.
Shoot in Groups of 5 or More
Fire 5 to 6 arrows at the same point before adjusting aim. Avoid chasing shots based on single impacts.
Simulate Real Hunting Pressure
Train under stress by wearing gloves and camo. Practice from kneeling, sitting, or tree stand positions. Have a partner shout shoot with a 5-second limit.
Practice Odd Distances
Shoot at 22, 27, or 33 yards, not just multiples of 10. This prepares you for real-world shots.
Try One-Arrow Groups
Based on expert methods, shoot with no warm-up. Take one shot then reset. This builds first-shot accuracy under pressure.
Maintain Safety at All Times
Archery is safe when rules are followed. Never skip safety steps.
Never Dry-Fire the Bow
Firing without an arrow can destroy limbs, cams, and strings and injure you.
Wear a Bracer
Use a forearm protector to prevent string slap, especially if shooting with loose sleeves.
Use a Solid Backstop
Always shoot into a high-quality foam target that stops arrows completely. Ensure no people, animals, or structures are behind.
Inspect Equipment Weekly
Before every session, check strings and cables for fraying or burns, D-loop for serving separation, and arrows for cracks or bends. Replace worn parts immediately.
Frequently Asked Questions About Firing a Compound Bow
What is the proper stance for shooting a compound bow?
Stand with feet shoulder-width apart, toes slightly turned out about 15 to 30 degrees. Distribute weight evenly with a slight forward bias and keep knees slightly bent. This stable foundation prevents leaning back at full draw and ensures consistent follow-through.
How do I anchor my shot consistently?
Use a three-point anchor system. Touch your release hand to the same spot on your jaw every time, touch your nose to the string at full draw, and ensure your peep sight aligns with your front sight. Practice drawing and anchoring at 10 yards until the position becomes automatic.
Which release style is best for hunting?
Command-style release, also known as punching the trigger, is best for hunting. This index-trigger method gives you conscious control over when to fire, making it reliable under adrenaline and reducing target panic in high-pressure situations.
Should I use push-pull or static hold at full draw?
Modern elite shooters prefer the static hold. Pull just enough to reach the cam’s back wall, then stop all active pushing or pulling. This reduces shot-to-shot variation and improves consistency compared to traditional push-pull methods.
How do I prevent target panic?
Target panic causes flinching or premature release. Combat it by using command-style release initially, practicing surprise release gradually, focusing on the target rather than the pin, and visualizing the shot before executing. Start close at 10 yards and build confidence before extending distance.
What draw weight should I start with?
Start with a draw weight that allows full draw with minimal strain. For most adults, this means 50 to 60 pounds. You should be able to draw smoothly even after climbing a hill or sitting in a tree stand. Increase weight gradually as your back muscles strengthen.
Key Takeaways for Firing Your Compound Bow
Mastering how to fire a compound bow takes time, but every expert started where you are now. Focus on consistency, not perfection. Start with a stable shoulder-width stance, keep your grip light and relaxed, and use your back muscles for the draw rather than your arms. Anchor consistently using multiple facial reference points and choose a release style that matches your purpose. Command-style works best for hunting while surprise release suits competition.
Use the drills outlined in this guide, respect the safety rules, and trust the process. With deliberate practice, you’ll develop a shot so repeatable it feels automatic, even under pressure. A well-practiced shot is a humane shot. You’ve got this.


