
How to Make a Wooden Bow: Simple Steps
Imagine standing in the woods, carving a bow from a straight-grained stave you harvested yourself, shaping it by hand until it bends true and strong. Making a bow out of wood isn’t just a survival skill, it is a craft that connects you to ancient traditions, natural materials, and self-reliance. Whether you are a beginner using a store-bought board or an experienced maker working with seasoned osage orange, the process of crafting a functional wooden bow is deeply rewarding.
This guide walks you through every step, from wood selection to final shooting. You will learn how to avoid common pitfalls, balance your limbs correctly, and build a bow that shoots accurately and lasts for years.
Choose the Right Wood for Your Bow
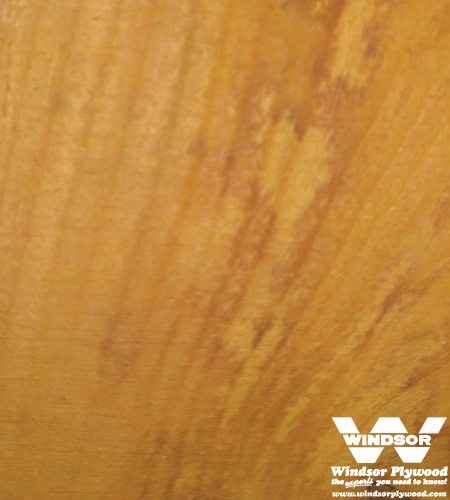
The strength and performance of your bow depend almost entirely on the wood you select. Not all hardwoods are suitable, and even minor flaws can lead to catastrophic failure under tension.
Pick Proven Bow Woods
Osage orange, Pacific yew, hickory, and hard maple are among the best choices for durable, high-performance bows. These woods store energy efficiently, resist fatigue, and bend without breaking when properly worked. Hickory is especially forgiving for beginners due to its shock resistance and wide availability. Red oak and ash are solid alternatives if grain quality is excellent. Black locust and elm also perform well when seasoned correctly.
Avoid softwoods like pine or poplar unless you are building a low-draw-weight practice bow. They lack the density and structural integrity for reliable use. Kiln-dried lumber can be brittle and works best with backing.
Inspect Grain and Defects
Examine the wood carefully before cutting. The back, the side facing away when drawn, must be flawless. Look for straight, uninterrupted grain from tip to tip with no knots, checks, or runout. Minimal warping or twisting is also essential.
Use a moisture meter to confirm the wood is seasoned to 8 to 10 percent moisture content. Unseasoned green wood will deform permanently if bent. Seal cut ends immediately after harvesting to prevent checking.
Source Boards or Staves
You can make a bow from a natural stave harvested from a straight sapling, a hardwood board from a hardware store, or a pre-seasoned stave purchased online. If using a board, spend time inspecting multiple pieces. Look down the length to spot subtle twists. Quartersawn or flatsawn is fine, only grain alignment matters.
Pro Tip: Boards are just staves that have been mistreated. With proper tillering, a board bow performs like a natural stave.
Prepare the Bow Blank
Before shaping, prepare the wood to ensure stability and reduce drying time. This step is crucial whether you are working with a freshly harvested stave or a board from the store.
Rough Out Green Staves
To speed seasoning from one year to one week, follow these steps. First, hand-split the stave to assess internal twist and reject any piece with more than 20 degrees deviation. Second, strip bark and cambium in spring when it peels easily, avoiding damage to the outer wood layer. Third, rough-shape with a hatchet or bandsaw into a bow profile. Fourth, dry indoors at 70 degrees Fahrenheit and 50 percent humidity, weighing every few days until stable for 7 days.
Never bend green wood because it creates weak elbows from fiber memory.
Use Fast-Drying Techniques
Indoor drying provides the best controlled results. Alternatively, the fire-coal method involves suspending the roughed blank over hardwood coals overnight under a tarp to dry quickly to under 10 percent moisture.
Design the Bow Shape
A well-designed bow bends evenly, stores energy efficiently, and matches your draw length. Taking time to plan the dimensions prevents costly mistakes during shaping.
Set the Correct Length
Use this formula: Bow length equals draw length multiplied by two plus six inches. A 28-inch draw requires a 64-inch bow. A 29-inch draw requires a 67-inch bow. Longer bows are smoother, shorter ones are more compact but require stiffer limbs.
Mark Key Dimensions
For a 64-inch longbow, mark these measurements. The handle is 4 inches centered. Fades begin 2 inches from handle edge. Taper start is 6 inches from tip. The arrow rest sits 1.25 inches above center on the handle. The top limb should be slightly longer to improve arrow clearance.
Use a chalk line to mark the centerline on the back for alignment.
Define Tapers
Width should taper from 1.5 inches at fades to 0.5 inches at tips. Thickness should taper from 1.5 inches at handle to 0.5 inches at tips, working on the belly only. The cross-section should be house-shaped with a flat back, flat belly, and angled sides.
Never reduce the back thickness because it bears tensile stress.
Gather Essential Tools
You do not need a full workshop, but the right tools make the job safer and more precise. Investing in quality hand tools pays off in better results and fewer frustrations.
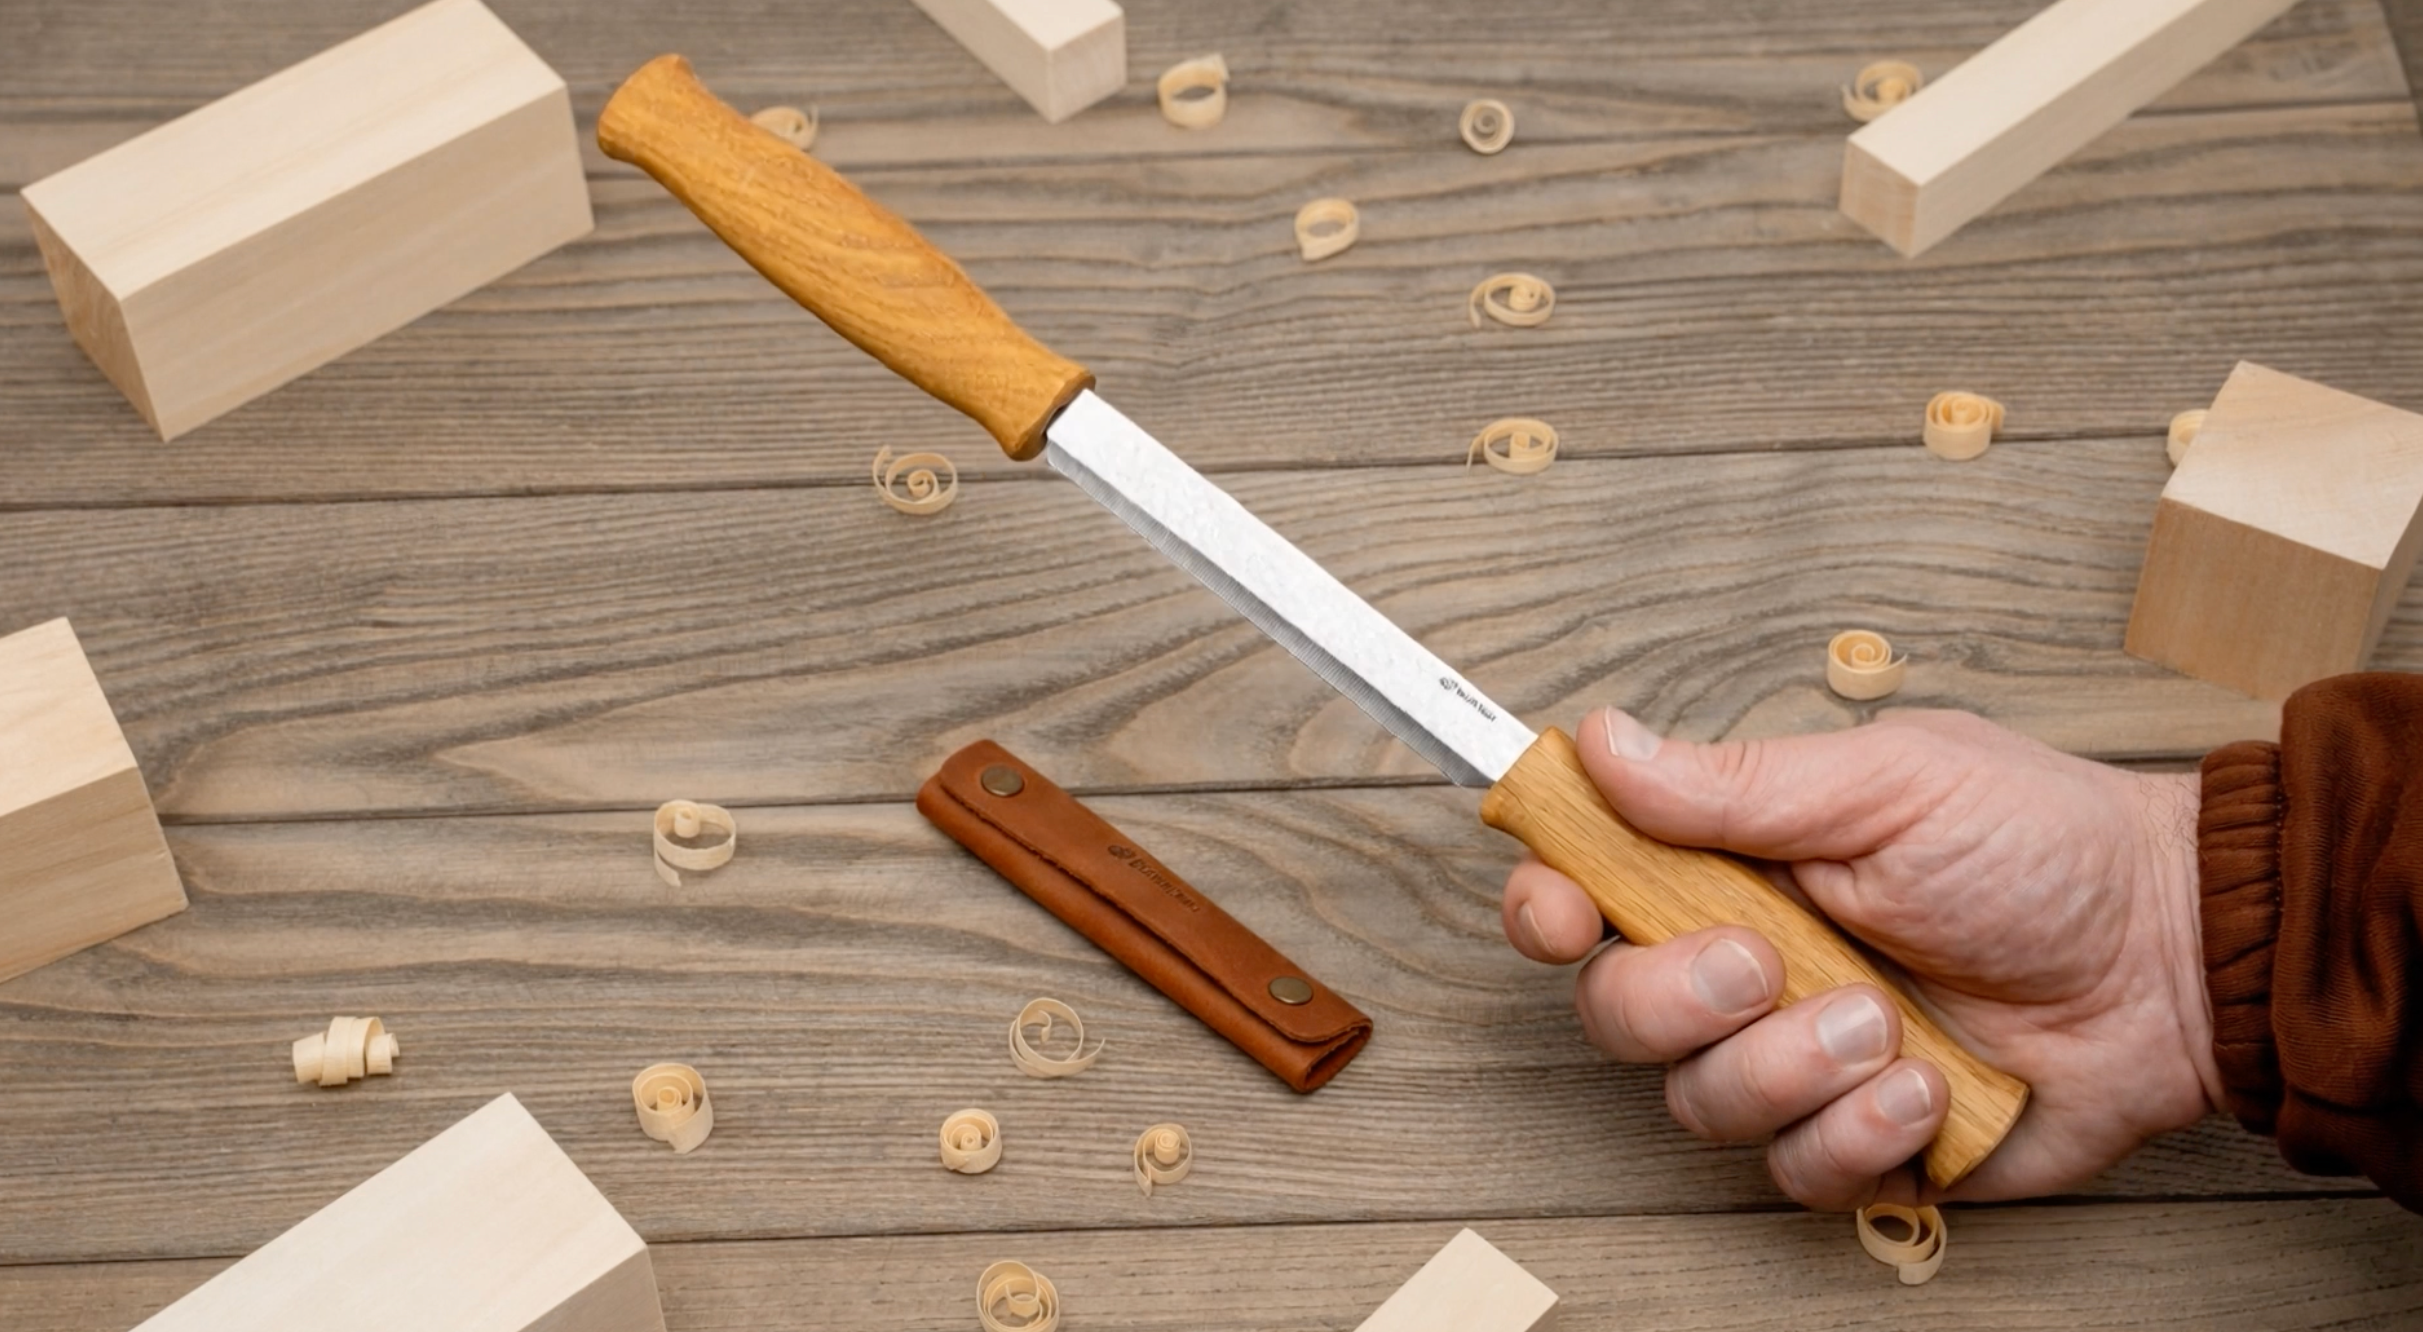
Core Tools
These tools are essential for shaping and finishing your bow. A drawknife provides ideal control for safe shaping. Spokeshaves, rasps, and files handle fine tuning. A bandsaw speeds cutting but carries risk if overused. Knives and a hatchet debark and rough out the blank. Calipers, a ruler, and compass ensure precise measurements. A moisture meter confirms dryness.
Helpful Additions
These additional tools improve the build process. A tillering stick or rack tests limb bend safely. Sandpaper in 80 to 220 grit smooths final surfaces. Clamps and a vise hold work steady. A heat gun enables advanced backset techniques.
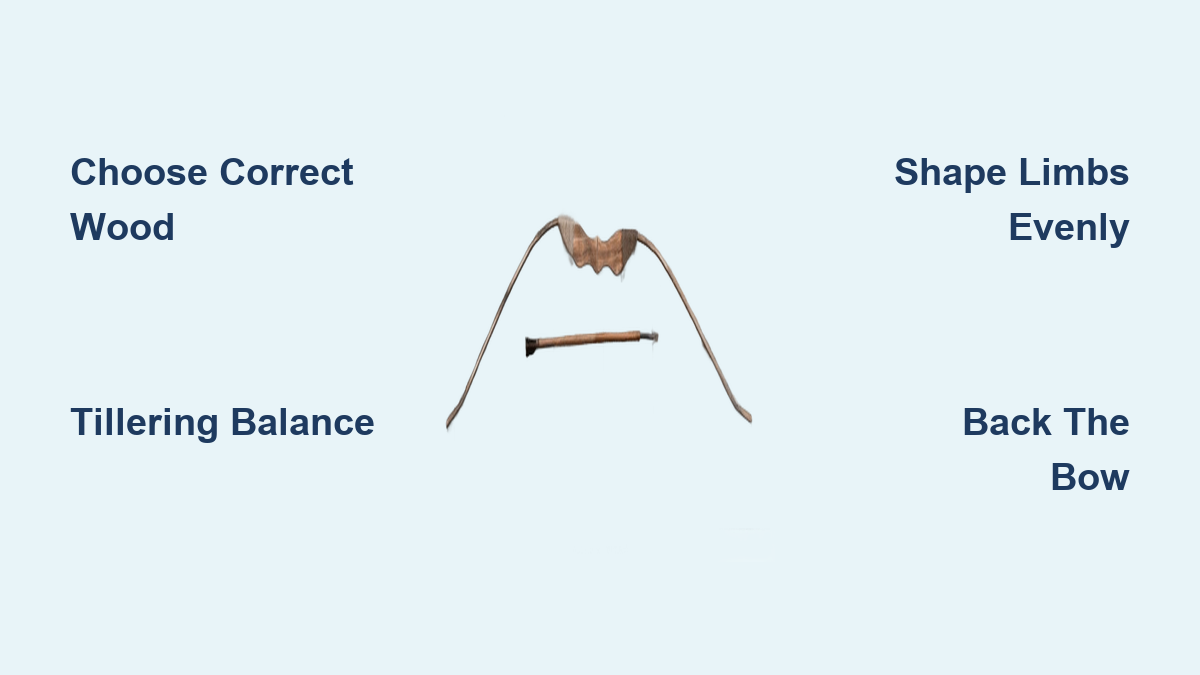
Shape the Bow Limbs
Work slowly and symmetrically. The goal is even flex, not speed. Rushing this phase leads to uneven bending and potential failure.
Rough the Side Profile
Remove wood from the belly only. Start at 1.5 inches thick at the handle and taper smoothly to 0.5 inches at the tips. Use a hatchet or drawknife to follow your pencil lines precisely.
Define Width Tapers
Keep mid-limbs wide at 1.5 to 2 inches for energy storage. Taper the outer 6 inches to 0.5 inches at nocks. Avoid over-narrowing because it weakens limbs significantly.
Carve the Handle and Fades
Hollow the handle to 1 to 2 inches depth, then blend smoothly into limbs over 2 to 4 inches. Use a compass or blade to trace smooth curves that flow naturally into the limb.
Shape the Cross-Section
Aim for a house-shaped profile with a flat back that remains untouched, a flat belly that is shaped, and an angled transition from sides to belly.
Critical: The back must remain intact. One deep scratch can become a failure point under tension.
Tillering: Balance the Limbs
Tillering is the heart of bowmaking, the process of balancing both limbs to bend evenly under draw. This phase requires patience and frequent testing.
Start with Floor Tillering
Place one tip on the floor and pull the other hand-over-hand to simulate draw. Apply only the target draw weight. Watch for stiff spots, the limbs should mirror each other perfectly.
Mantra: Remove wood only from stiff areas.
Use Long String Method
Tie a temporary string with paracord plus 10 inches. The top gets a fixed loop around 1.5 inches. The bottom uses an adjustable timber hitch. Hang the bow or use the foot-step method and pull gradually to observe bend. No tiller tree is needed for basic builds.
Progress to Rack Tillering
Build a simple rack with a cradle at 5 feet to hold the handle, a pulley at floor level, and a rope running from cradle to pulley to pulling point. Draw incrementally and remove small amounts from the belly of stiff limbs. Never touch weak or over-flexing zones. Check bend every 3 to 4 scrapes in final stages.
Key Insight: Flex the limb 20 to 30 times after changes because wood has memory.
Hit Target Draw Weight
Final tillering is done while braced. Do not exceed 10 to 15 pounds over target. For a 50-pound bow, do not exceed 60 pounds during tuning. Adjust by removing tiny slivers from the belly. Target even bend at full draw, for example 28 inches.
Back the Bow (Optional but Smart)

Backing reinforces the back, prevents cracks, and allows safer tillering. While not required, backing improves performance and durability.
Choose Backing Material
Fiberglass drywall tape is most effective and adds speed and strength. Denim, silk, and linen are traditional and functional. Sinew and rawhide are historic options that perform well when glued properly. Bamboo slats provide rigid reinforcement.
Apply Backing Step by Step
First, sand and clean the back thoroughly. Second, apply Titebond III or epoxy as a sizing coat and wait 5 minutes. Third, apply a second coat. Fourth, lay backing material, stretch slightly, and smooth from center outward. Fifth, roll with a file handle to remove bubbles. Sixth, clamp with rubber bands for 24 hours. Seventh, trim edges with a file or knife.
Performance Gain: Fiberglass backing can add 8 plus feet per second due to reduced energy loss.
Cut Nocks and String the Bow
Proper nocks keep the string secure and aligned. This step requires precision to prevent torque and string slippage.
Cut Aligned Nocks
Shape small grooves at limb tips. Cut at 45 degrees toward the handle. Match groove width to string diameter. Align both nocks perfectly because misalignment causes torque.
Tip: Round the bottom nock and keep the top nock sharp for consistent orientation.
Choose and Size the String
Paracord is stretchy and only suitable for temporary use. Dacron and FastFlight offer low stretch and efficiency. Flemish twist is traditional and strong.
For string length, start with bow length plus 10 inches. The final length for a longbow is bow length minus 3 inches. Brace height should be 3 to 6 inches, adjustable with the timber hitch.
Safety: Never dry-fire because the bow will shatter instantly.
Finish and Maintain the Bow
A good finish protects against moisture and wear, extending the life of your bow significantly.
Sand and Seal
Progress from 80 to 220 grit sandpaper, sanding evenly without over-sanding one limb. Apply 7 to 8 coats of spar urethane, Tru-Oil, or boiled linseed oil used sparingly. Lightly sand between coats.
Prevent String Follow
Unstring when not in use. Store in a dry, cool place. Reapply finish annually.
Lifespan: A well-made wooden bow can last decades.
Fix Common Problems
Even careful builds encounter issues. Knowing how to respond saves your work.
Uneven Limb Bend
The cause is asymmetrical shaping or stiff spots. The fix involves removing tiny amounts from the stiffer limb belly and testing often.
Cracks in the Back
Minor cracks can be backed over with fiberglass. Major cracks mean the bow should be discarded because the back is under extreme tension.
Handle Too Thin
Keep the handle at least 1.5 inches thick to prevent this. If it happens, reinforce with a wrap or start over.
String Slipping Off
Poor nock cut causes this issue. Recut smooth, rounded grooves to fix it.
Draw Weight Increases Over Time
Green wood drying causes this. Re-tiller gradually or accept the bow as disposable.
Nock Breakage
Weak wood or poor alignment causes nock breakage. Reinforce with sinew or tape and recut.
Shoot and Care for Your Bow
Proper use extends life and improves performance. A few minutes of care prevents years of problems.
Break It In
Draw the bow 20 to 30 times lightly. This allows fibers and backing to settle. Draw weight may drop 1 to 3 pounds.
Store Properly
Always unstring when not in use. Avoid humidity, heat, and direct sun. Inspect regularly for cracks.
Maintain Performance
Replace frayed strings promptly. Reapply finish as needed. Avoid over-drawing beyond your target length.
Key Takeaways for Making a Bow Out of Wood
Making a functional wooden bow is a deeply rewarding craft that connects you to ancient traditions. Start simple with a 1 by 2 red oak board, 64 inches long, around 40 pounds draw weight. Pay close attention to grain direction and never work on the back of the bow. Tillering is the most critical phase, so work slowly and test frequently. With patience and careful attention, you will create a bow that is not just a tool but a piece of craftsmanship.
Now go find a straight branch, pick up your drawknife, and make your first bow.
Frequently Asked Questions About Making a Bow Out of Wood
What is the best wood for a beginner bow?
Hickory is the best choice for beginners because it is forgiving, shock-resistant, and widely available. Red oak and hard maple also work well. Avoid softwoods like pine unless building a very low-draw-weight practice bow.
How long does it take to make a wooden bow?
A basic board bow can be completed in several hours to a few days with experience. A traditional stave bow requires one year or more of seasoning before shaping. Survival bows from green wood can be made in under one hour but have limited lifespan.
Do I need to back my bow?
Backing is optional but recommended. It reinforces the back, prevents cracks, and can add 8 plus feet per second to arrow speed. Fiberglass drywall tape is the most effective backing material for performance.
How do I know when tillering is complete?
Tillering is complete when both limbs bend evenly at full draw, the bow reaches your target draw weight, and there are no stiff spots or hinge points. Test frequently during the final stages, checking every 3 to 4 scrapes.
What draw weight should I start with?
Beginners should start with 35 to 45 pounds draw weight. This is manageable for learning proper form while providing enough power for accurate shooting. As your technique improves, you can build heavier bows.
How do I maintain my wooden bow?
Store the bow unstrung in a cool, dry place. Reapply finish annually. Inspect regularly for cracks along the back. Replace strings when frayed. Avoid leaving the bow strung for extended periods.


