
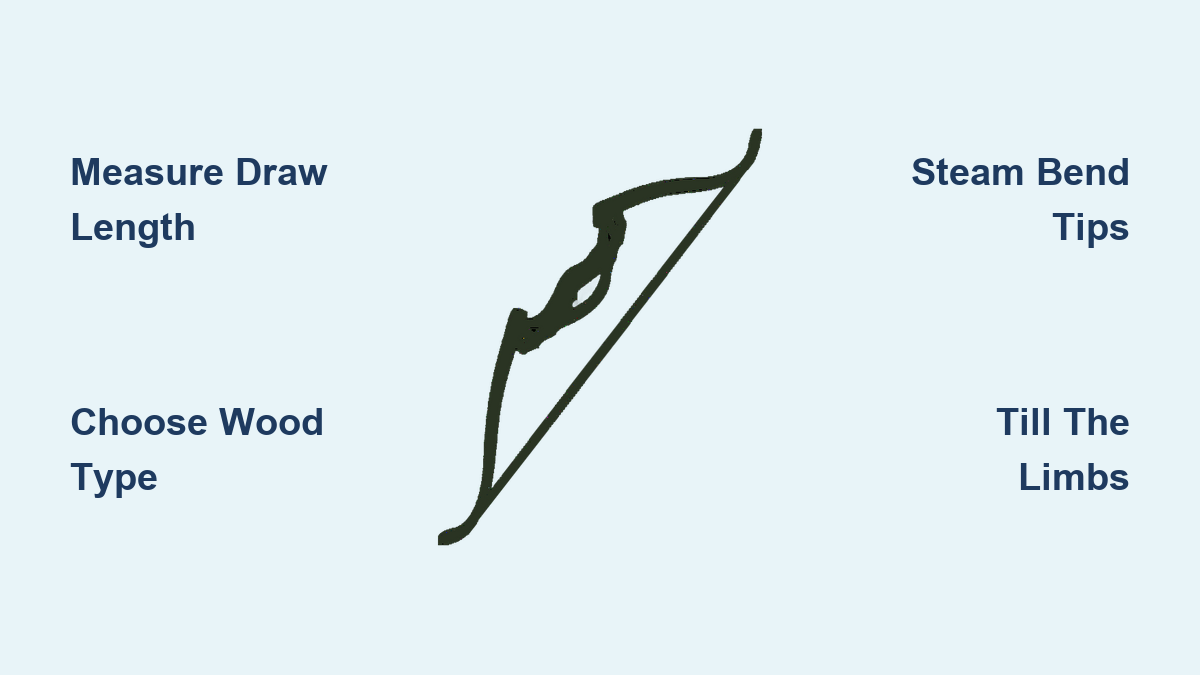
How to Make a Recurve Bow: Step-by-Step Guide
You’ve watched traditional archers draw sleek, powerful recurve bows with smooth precision. Now you want to build one yourself. Learning how to make a recurve bow is more than a woodworking project. It is a journey into ancient craftsmanship, physics, and personal expression. Whether you are crafting a self bow from a single stave of osage orange or assembling a laminated hybrid using a modern kit, the process demands attention to detail, patience, and respect for the materials.
This guide walks you step by step through building a functional, safe, and accurate recurve bow. You will learn how to select the right wood, shape limbs, form recurves, tiller evenly, and finish with professional results. From draw length calculations to steam bending, nock cutting to backing reinforcement, every phase is covered here.
Measure Your Draw Length
Your draw length determines how long your bow should be and how much power it needs to deliver. Getting this measurement right is the foundation of bow building.
Find Your Arm Span
Stand with your back against a wall and stretch both arms out horizontally. Use a tape measure to record the distance from the tip of one middle finger to the other. This is your arm span in inches. For example, if your arm span is 70 inches, that becomes the starting point for calculating draw length.
Calculate Draw Length
Divide your arm span by 2.5 to determine your approximate draw length. Using the 70 inch example: 70 divided by 2.5 equals 28 inches. This number represents the distance you will pull the string back when shooting.
Match Bow Length to Draw Length
Choose a bow length based on your calculated draw length. Longer bows are more stable. Shorter ones are easier to maneuver.
- 14 to 16 inch draw: 48 inch bow
- 17 to 20 inch draw: 54 inch bow
- 20 to 22 inch draw: 58 inch bow
- 22 to 24 inch draw: 62 inch bow
- 24 to 26 inch draw: 64 to 66 inch bow
- 26 to 28 inch draw: 66 to 68 inch bow
- 28 to 30 inch draw: 70 to 72 inch bow
- 31 plus inch draw: 70 to 72 inch bow
Bows over 68 inches are ideal for target shooting. For hunting or survival use, aim for 58 to 64 inches.
Set Your Target Draw Weight
Draw weight is the force required to pull the bowstring to full draw, measured in pounds at 28 inches regardless of your actual draw length. Higher draw weights shoot faster but require more strength.
Estimate Using Body Weight
While not precise, body weight can help estimate a safe starting draw weight. These are approximate guidelines only.
- 40 to 70 lbs body weight: 10 to 15 lbs draw weight
- 70 to 100 lbs body weight: 15 to 20 lbs draw weight
- 100 to 140 lbs body weight: 25 to 35 lbs draw weight
- 140 to 160 lbs body weight: 30 to 45 lbs draw weight
- 160 to 190 lbs body weight: 30 to 55 lbs draw weight
- 190 plus lbs body weight: 45 to 60 lbs draw weight
Muscle strength matters more than total weight. Always test with a draw scale before finalizing.
Recommended Starting Weights
Beginners should start light to develop proper technique. Children should target 10 to 15 lbs. Teens should aim for 15 to 20 lbs. Adults practicing should use 18 to 25 lbs. Athletic adults can handle 25 to 30 lbs. Hunting applications require 35 to 50 plus lbs. A 50 pound draw is often considered optimal for deer hunting with good arrow speed and penetration.
Choose the Right Wood
The stave is the main piece of wood forming the bow. It must balance flexibility, strength, and energy storage. Grain integrity is critical, especially along the back, which endures high tension.
Top Bow Woods Compared
- Pacific Yew: Best for self bows and hunting. Sapwood handles tension while heartwood handles compression. Ideal natural balance.
- Osage Orange: Best for high performance recurves. Dense, stores massive energy, durable. Preferred by traditional bowyers.
- Hickory: Best for laminated builds. Tough, shock resistant. Often paired with softer woods.
- Maple: Best for DIY projects. Consistent grain, easy to work, strong. Great for beginners.
- Bamboo: Best for composite laminations. High tensile strength. Best when layered with hardwoods.
- Red Oak: Best for practice builds. Brittle under stress. Must be backed with rawhide or sinew.
- Ipe: Best for weather resistant bows. Extremely hard, difficult to shape but long lasting.
- Dogwood: Best for youth and small bows. Hard and shock resistant. Limited to short draws.
Avoid Flawed Staves
Inspect your wood carefully. The back must have unbroken grain with no knots, checks, or run out. Even small defects can cause catastrophic failure. Never use green or unseasoned wood. All staves must be air dried for 1 to 2 years minimum.
Gather Essential Tools
You do not need a full workshop, but certain tools are nonnegotiable for safety and precision.
Core Tools List
- Drawknife for rapid wood removal and shaping limbs
- Half round rasp for smoothing curves and refining handle
- Card scraper for final belly smoothing and revealing grain flaws
- Sander with 60 to 220 grit for progressive smoothing
- Ruler and tape measure to ensure symmetry and taper accuracy
- Tile saw or file to cut clean, square nocks
- Clamps to secure stave during bending and gluing
- Heat gun for dry heat bending or twist correction
- Steam box to plasticize wood for safer shaping
- Tillering rack to test limb bend safely at incremental draws
- Draw weight scale to measure force at 28 inch draw
- Bow stringer to prevent limb damage during stringing
- Straight edge, compass, and marker for layout and centerline
Optional but Helpful
- Recurve jig ensures consistent tip curvature
- Bandsaw cuts laminations cleanly
- Flush trim router bit trims laminated forms flush
- Bow square checks nock alignment and brace height
Prepare the Stave
Start with a stave slightly longer than your target bow length. For example, use a 70 inch stave for a 66 inch bow. Typical starting dimensions are 1 to 2.5 inches wide and 1 to 2 inches thick. Leave extra material because you can always remove more but cannot add it back.
Mark the Centerline
Stretch a taut string from tip to tip and mark the midpoint. Use a straight edge to draw a centerline down the length. Avoid chalk because it can stain and hide grain imperfections. Functional symmetry matters more than visual symmetry. Focus on even bending, not perfect appearance.
Define Handle and Limbs
The handle should be centered at 32 inches from each tip for a 64 inch bow. The total length should be 4 inches with 2 inches above and 2 inches below center. Initial width should be slightly over 1 inch, with final width around 1.25 inches. Keep the handle thick early and thin it last during tillering. The limbs extend about 30 inches from handle to tip. The fade area is the transition zone between handle and limb. Use a curved template for smooth flare. Tip taper for Pacific yew starts at 10 mm and increases by 3 mm every 2 inches.
Shape the Limbs
Use a drawknife to remove excess wood outside layout lines. Then refine with a half round rasp, avoiding tear out. Round all sharp edges to prevent splintering and stress points.
Profile the Back
The back is the tension side. In Pacific yew, thin sapwood to 1/8 inch uniformly. Never exceed 1/3 of limb thickness. In red oak, the back must be backed due to weak tensile strength.
Profile the Belly
Smooth the belly with a card scraper. Draw a 1/2 inch reference line using a compass. Final thickness must be below this line. Taper gradually from handle to tips.
Cross Section Shape
The handle should be rectangular or slightly oval. The outer limbs should transition to rounded or diamond shaped. Avoid abrupt changes because stress concentrates at sharp transitions.
Form Recurved Tips
Steam bending is recommended for most woods, especially red oak or beginner builds.
Steam Bending Process
Build or use a steam box, which is a sealed container with steam source. Steam limb tips for 30 to 60 minutes depending on thickness. Immediately transfer to a recurve jig and clamp. Let cool and dry for 24 to 48 hours. This method offers lower risk of breakage, better shape retention, and is more forgiving than dry heat.
Heat Gun Bending Process
Heat gun bending works best for stable woods like Pacific yew or osage orange. Clamp the stave securely and apply heat gun to the belly side of the tip until wood softens. Apply constant pressure using hanging weight to bend. Hold until cooled. This method is fast and direct and allows twist correction up to 90 degrees, but it can embrittle wood and has higher chance of cracking.
Set the Backset
After recurving, set the pre stress to improve performance. Place each limb into a backset form. Heat the belly with a heat gun for about 10 minutes per limb. This sets curvature opposite to draw bend, drives out residual moisture, and stabilizes shape before tillering.
Till the Bow Safely
A tillering rack supports the bow while you draw it incrementally. Mount the bow with belly facing you and attach a clearing string, which is shorter and reduces stress. Pull in 2 inch increments and observe the bend. If one limb bends more, remove material from the stiffer limb. Continue until you achieve a smooth, even arc.
Monitor Draw Weight
Attach a draw weight scale to track force at 28 inch draw. Pacific yew targets 60 lbs. Red oak targets 30 to 40 lbs. Maple and hickory target 40 to 50 lbs. Remove tiny amounts at a time. Over thinning leads to breakage.
The stiffer limb becomes the bottom limb while the weaker limb becomes the top limb. Asymmetry is normal.
Cut Nocks Correctly
Use a tile saw for precise, square cuts at limb tips. Then use a red hot 12 penny nail. The heated nail compresses wood fibers and creates a smooth, self locking groove. Cut V shaped or half moon notches. Nocks must sit on the centerline. Misalignment causes twisting and poor arrow flight.
Reinforce Weak Woods
Apply rawhide backing for woods like red oak that lack tensile strength. Soak rawhide in water for 1 hour. Prepare hide glue by mixing 1 to 1 granules to water, heating to 80 degrees Celsius, and stirring for 20 to 30 minutes until gelatinous. Clean the stave back thoroughly. Apply hot glue evenly and press soaked rawhide onto the back. Clamp firmly, especially over recurves. Cure for several days. Trim excess with small drawknife and seal loose spots with epoxy if needed.
Finish the Handle
Use a Nicholson 49 rasp for final handle shaping. Optionally carve a small arrow shelf for better alignment. Wrap with red flax twine secured with hide glue. This improves grip comfort, protects from wear, and adds traditional aesthetic.
Polish and Protect
Scrape and sand the entire surface from 60 to 220 grit. Burnish the surface using a glass jar or coffee mug to compress wood fibers and create natural sheen. Apply two coats of water based varnish per side, especially over rawhide backing. Avoid oil finishes because they can soften glue.
Add custom details like burning symbols into rawhide, attaching personalized nameplates, or carving your name.
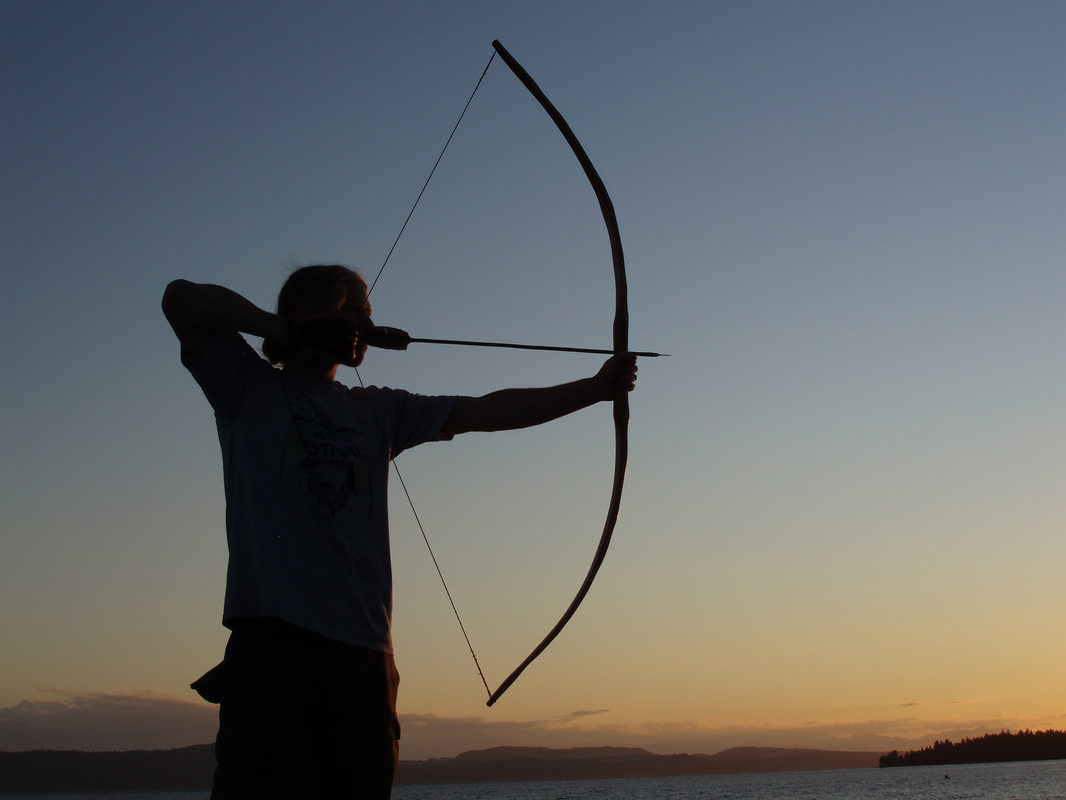
String and Test
Use a bow stringer. Never string a recurve by hand because risk of limb damage is high. Place larger loop of stringer over upper limb and hook tighter loop into lower nock. Position saddle behind upper loop and pouch under lower limb. Step on cord, pull bow upward to flex limbs, and slide string into upper nock. To unstring, reverse the process.
Check brace height, which is distance from string to deepest part of grip when strung. Adjust by twisting or shortening string. Use bow square to verify nock alignment.
Optimize Performance
Choose string material based on performance needs. Dacron is traditional, durable, and has low stretch. Fast Flight and 452X offer high speed and minimal stretch but require tuned limbs. Paracord is for emergency use only. Nylon rope is not recommended.
Choose string type. Endless loop is seamless with smooth release and preferred by purists. Twisted string is a DIY option but less consistent.
Maintain Your Bow
Always use a bow stringer. Never dry fire, which means shooting without an arrow. Inspect limbs for cracks, delamination, or fraying. Store unstrung when not in use. Wipe down after use to remove moisture. Re wax wood periodically to prevent drying. Check string for wear and replace every 1 to 2 years.
Expected lifespan varies by type. Solid wood lasts 5 to 10 years. Laminated bows last 10 to 20 plus years. Fiberglass backed bows have best humidity resistance.
Key Takeaways for Building Your First Recurve Bow
Start with a longbow or flatbow before tackling a recurve because the learning curve is steep. Use steam bending instead of just heat because it is safer and more reliable. Get feedback by posting tillering photos to bowyery forums where experienced makers can spot issues early. Avoid overambition by starting with 20 to 30 pound draw weight so you learn faster and avoid frustration. Respect the grain because unbroken grain on the back is nonnegotiable. Work incrementally by removing shavings, not chunks. Patience prevents breakage. Embrace mistakes because your first bow is a teacher. Document it with notes and photos.
Frequently Asked Questions About Making a Recurve Bow
What is the best wood for a beginner making a recurve bow?
Maple is the best wood for beginners because it has consistent grain, is easy to work, and is strong. Pacific yew and osage orange are superior for performance but require more skill to work properly.
How long does it take to make a recurve bow?
The entire process takes 2 to 4 weeks for most builders, not including wood drying time. Actual hands on work is 20 to 40 hours depending on experience and whether you are using a kit or building from a raw stave.
Do I need to back my recurve bow?
Backing is required for weak woods like red oak that have poor tensile strength. Strong woods like Pacific yew, osage orange, and maple do not require backing when the back has unbroken grain.
Can I use a heat gun instead of steam bending?
Yes, experienced builders use heat guns on stable woods like yew and osage orange. However, steam bending is safer for beginners and less likely to crack or embrittle the wood.
What draw weight should a beginner start with?
Beginners should start with 20 to 30 pounds regardless of body weight. This allows development of proper technique without risk of injury or developing bad form from struggling with excessive weight.
How do I know when tillering is complete?
Tillering is complete when both limbs bend evenly through the entire draw length and the bow reaches your target draw weight at 28 inches. The string should follow a smooth path and the bow should feel balanced in hand.


